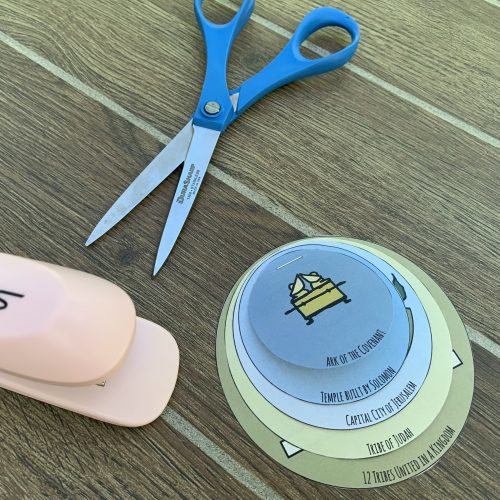
The account for this project is found in 1 Kings 8. When King Solomon built the temple that his father, David, had designed and prepared – the ark of the covenant was moved into its permanent home. We are told in the scriptures that God filled this temple with His glory. Now access to God could only be found through Jerusalem.
I use this project when studying the progression of the United Kingdom to the Divided Kingdoms. Its helpful for kids to understand where the ark and temple were located so they have a better understanding of the later strife between Israel and Judah. King Jeroboam’s idolatrous religious rebellion was a direct reaction to this matter. There were no godly kings in the northern kingdom. Both Israel and Judah move further and further away from God as time goes by. However, Judah – having access to the temple, priests and law – goes through a number of reforms and is ultimately spared from Israel’s earlier captivity.
Other biblical connections:
This would be a great time to talk about what the ark was and different accounts we have when the ark seems to have a “life” of its own (1 Samuel 4-6 or 2 Samuel 6 are a few examples). Also consider reading the accounts of purifying places of worship. God fills both Solomon’s temple and the tabernacle with His glory (Exodus 40:34-38). We do not see this with future temples. Depending on your lesson and the age/understanding of your children, these may be some neat things to discuss while working through this lesson.
Like all Third Culture Crafts – all you need is a printer, scissors, and a way to stick it all together. It can also be adapted for many different ages and is a great craft when teaching various ages or learning levels together in one class. When attaching the pages together, I prefer to use a stapler for this book, but there are other options explained in the modification section below.
Step 1: Download & Print
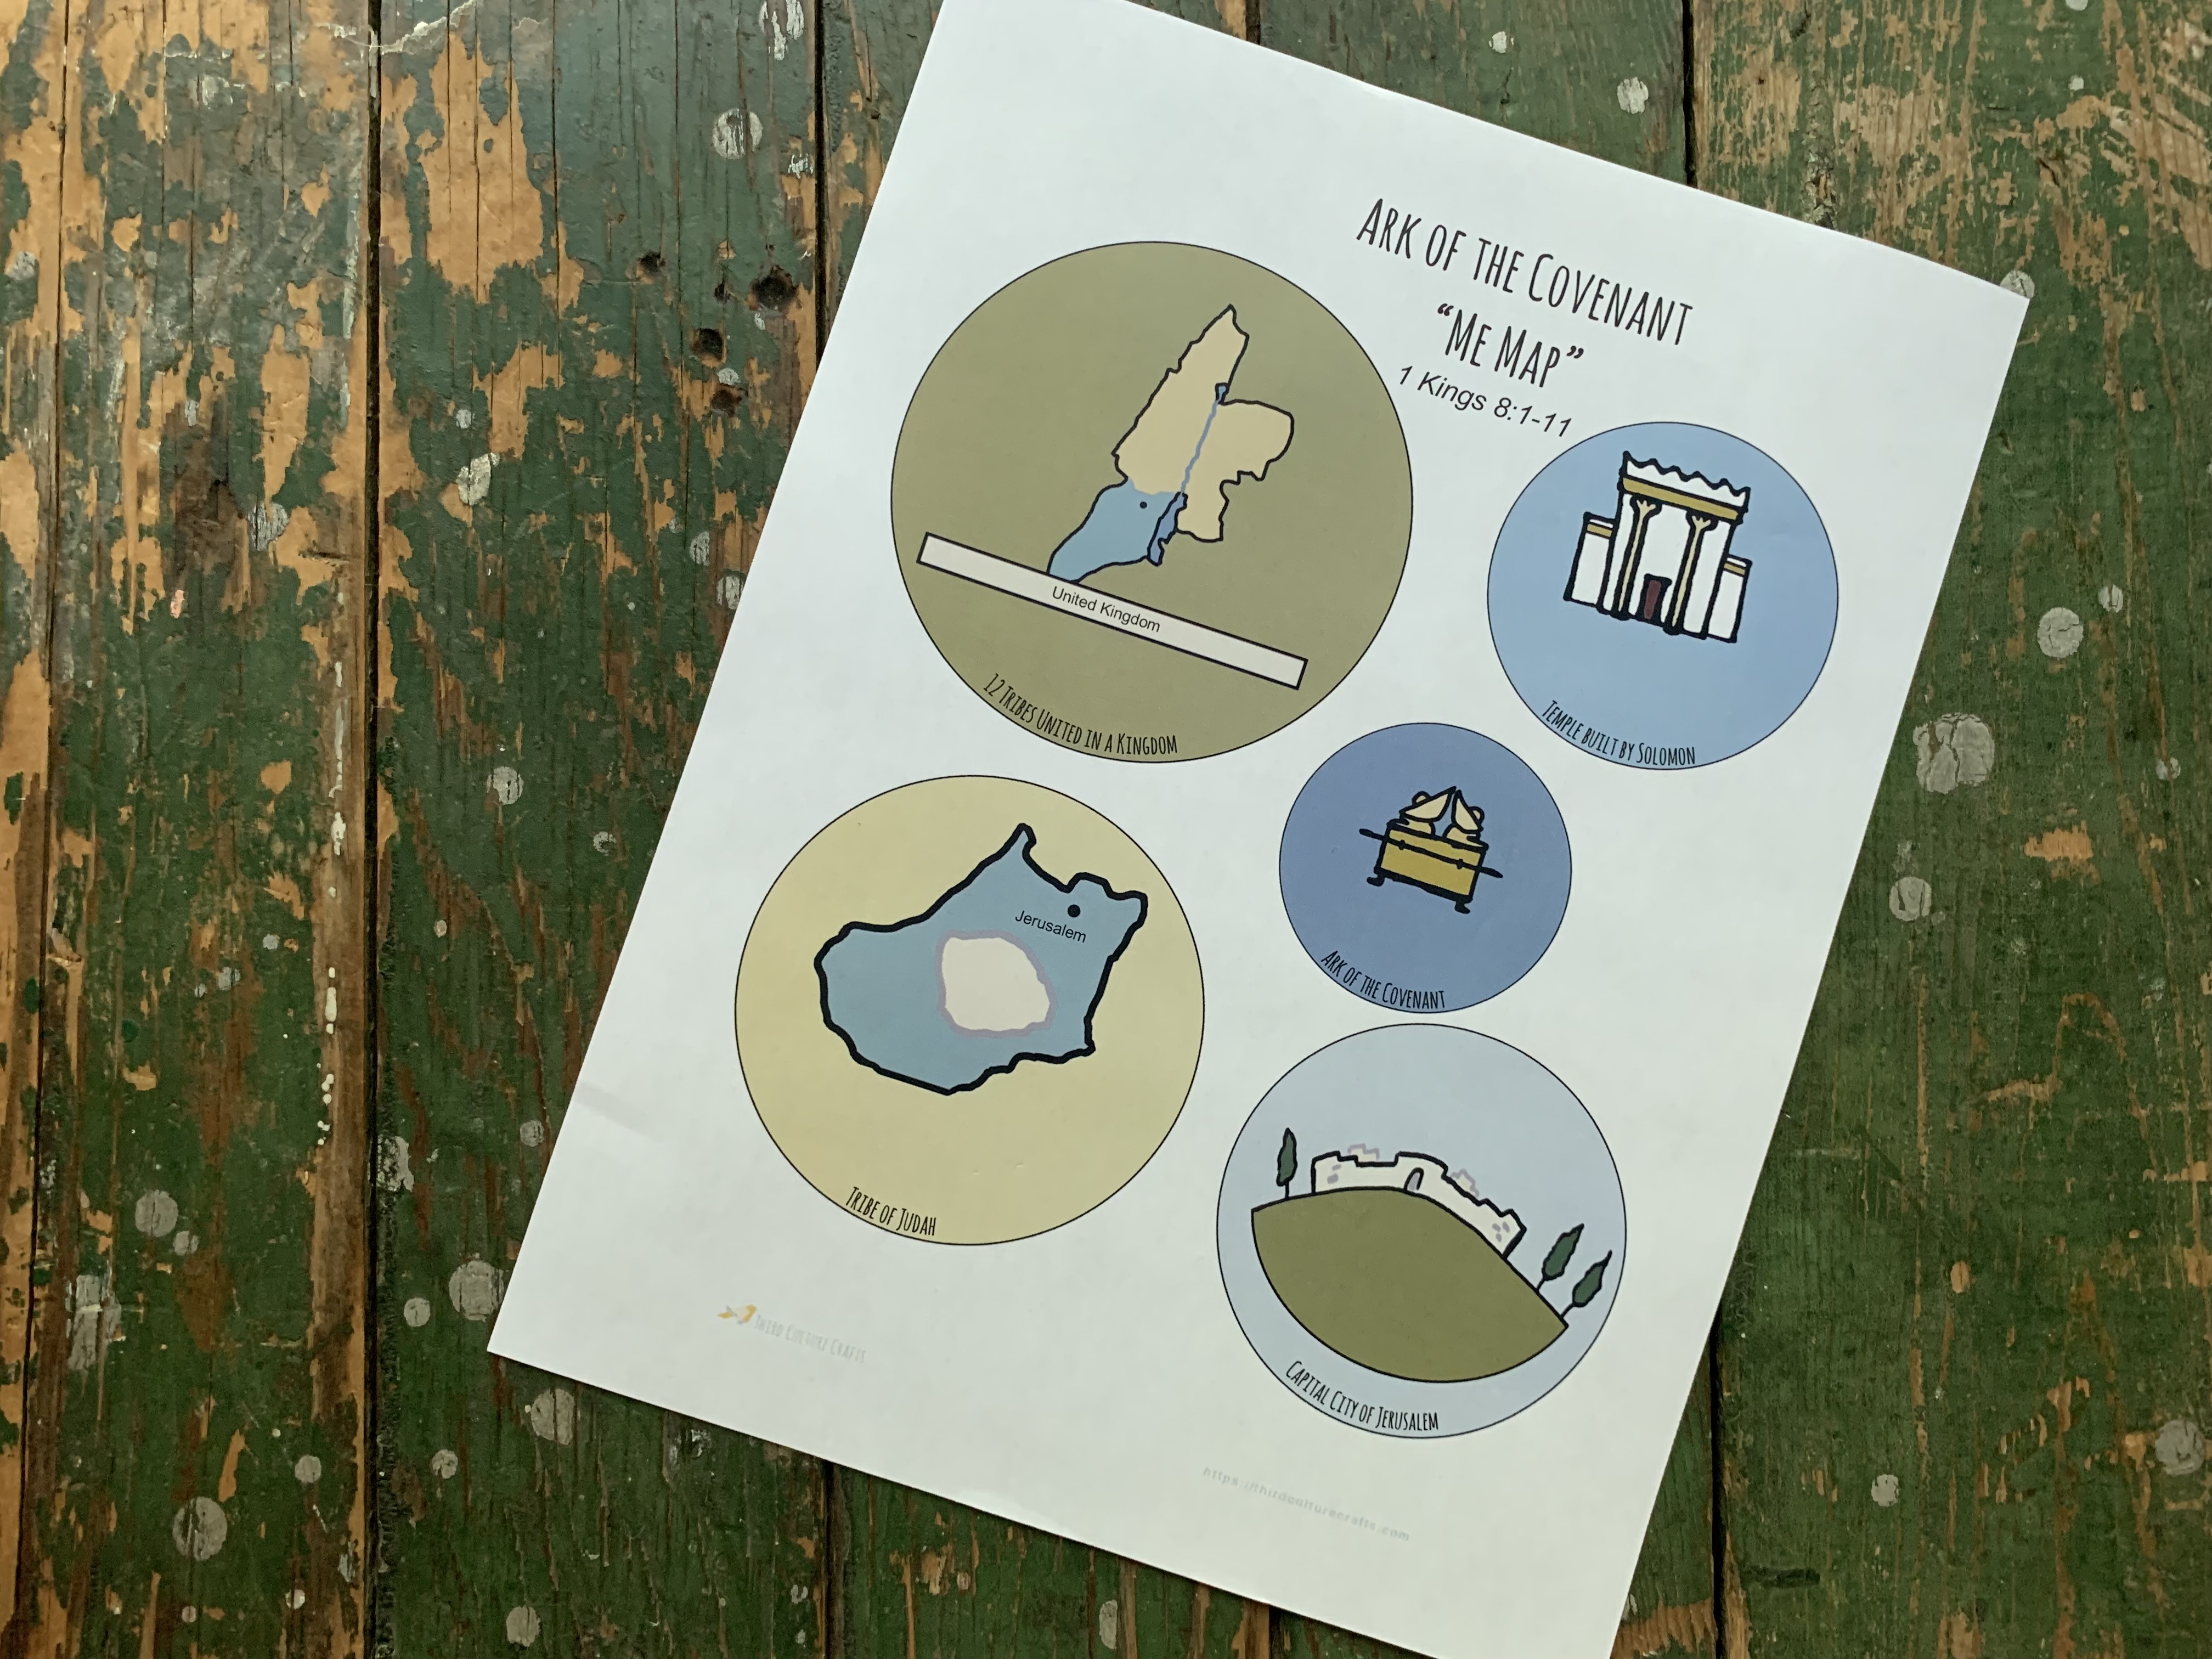
Print in black and white:
This is a great option for kids who like to color to make the book their own.
Print in color:
This is a better option for younger kids, the craft non-enthusiast, or to simply make the project go much faster.
Step 2: Cut
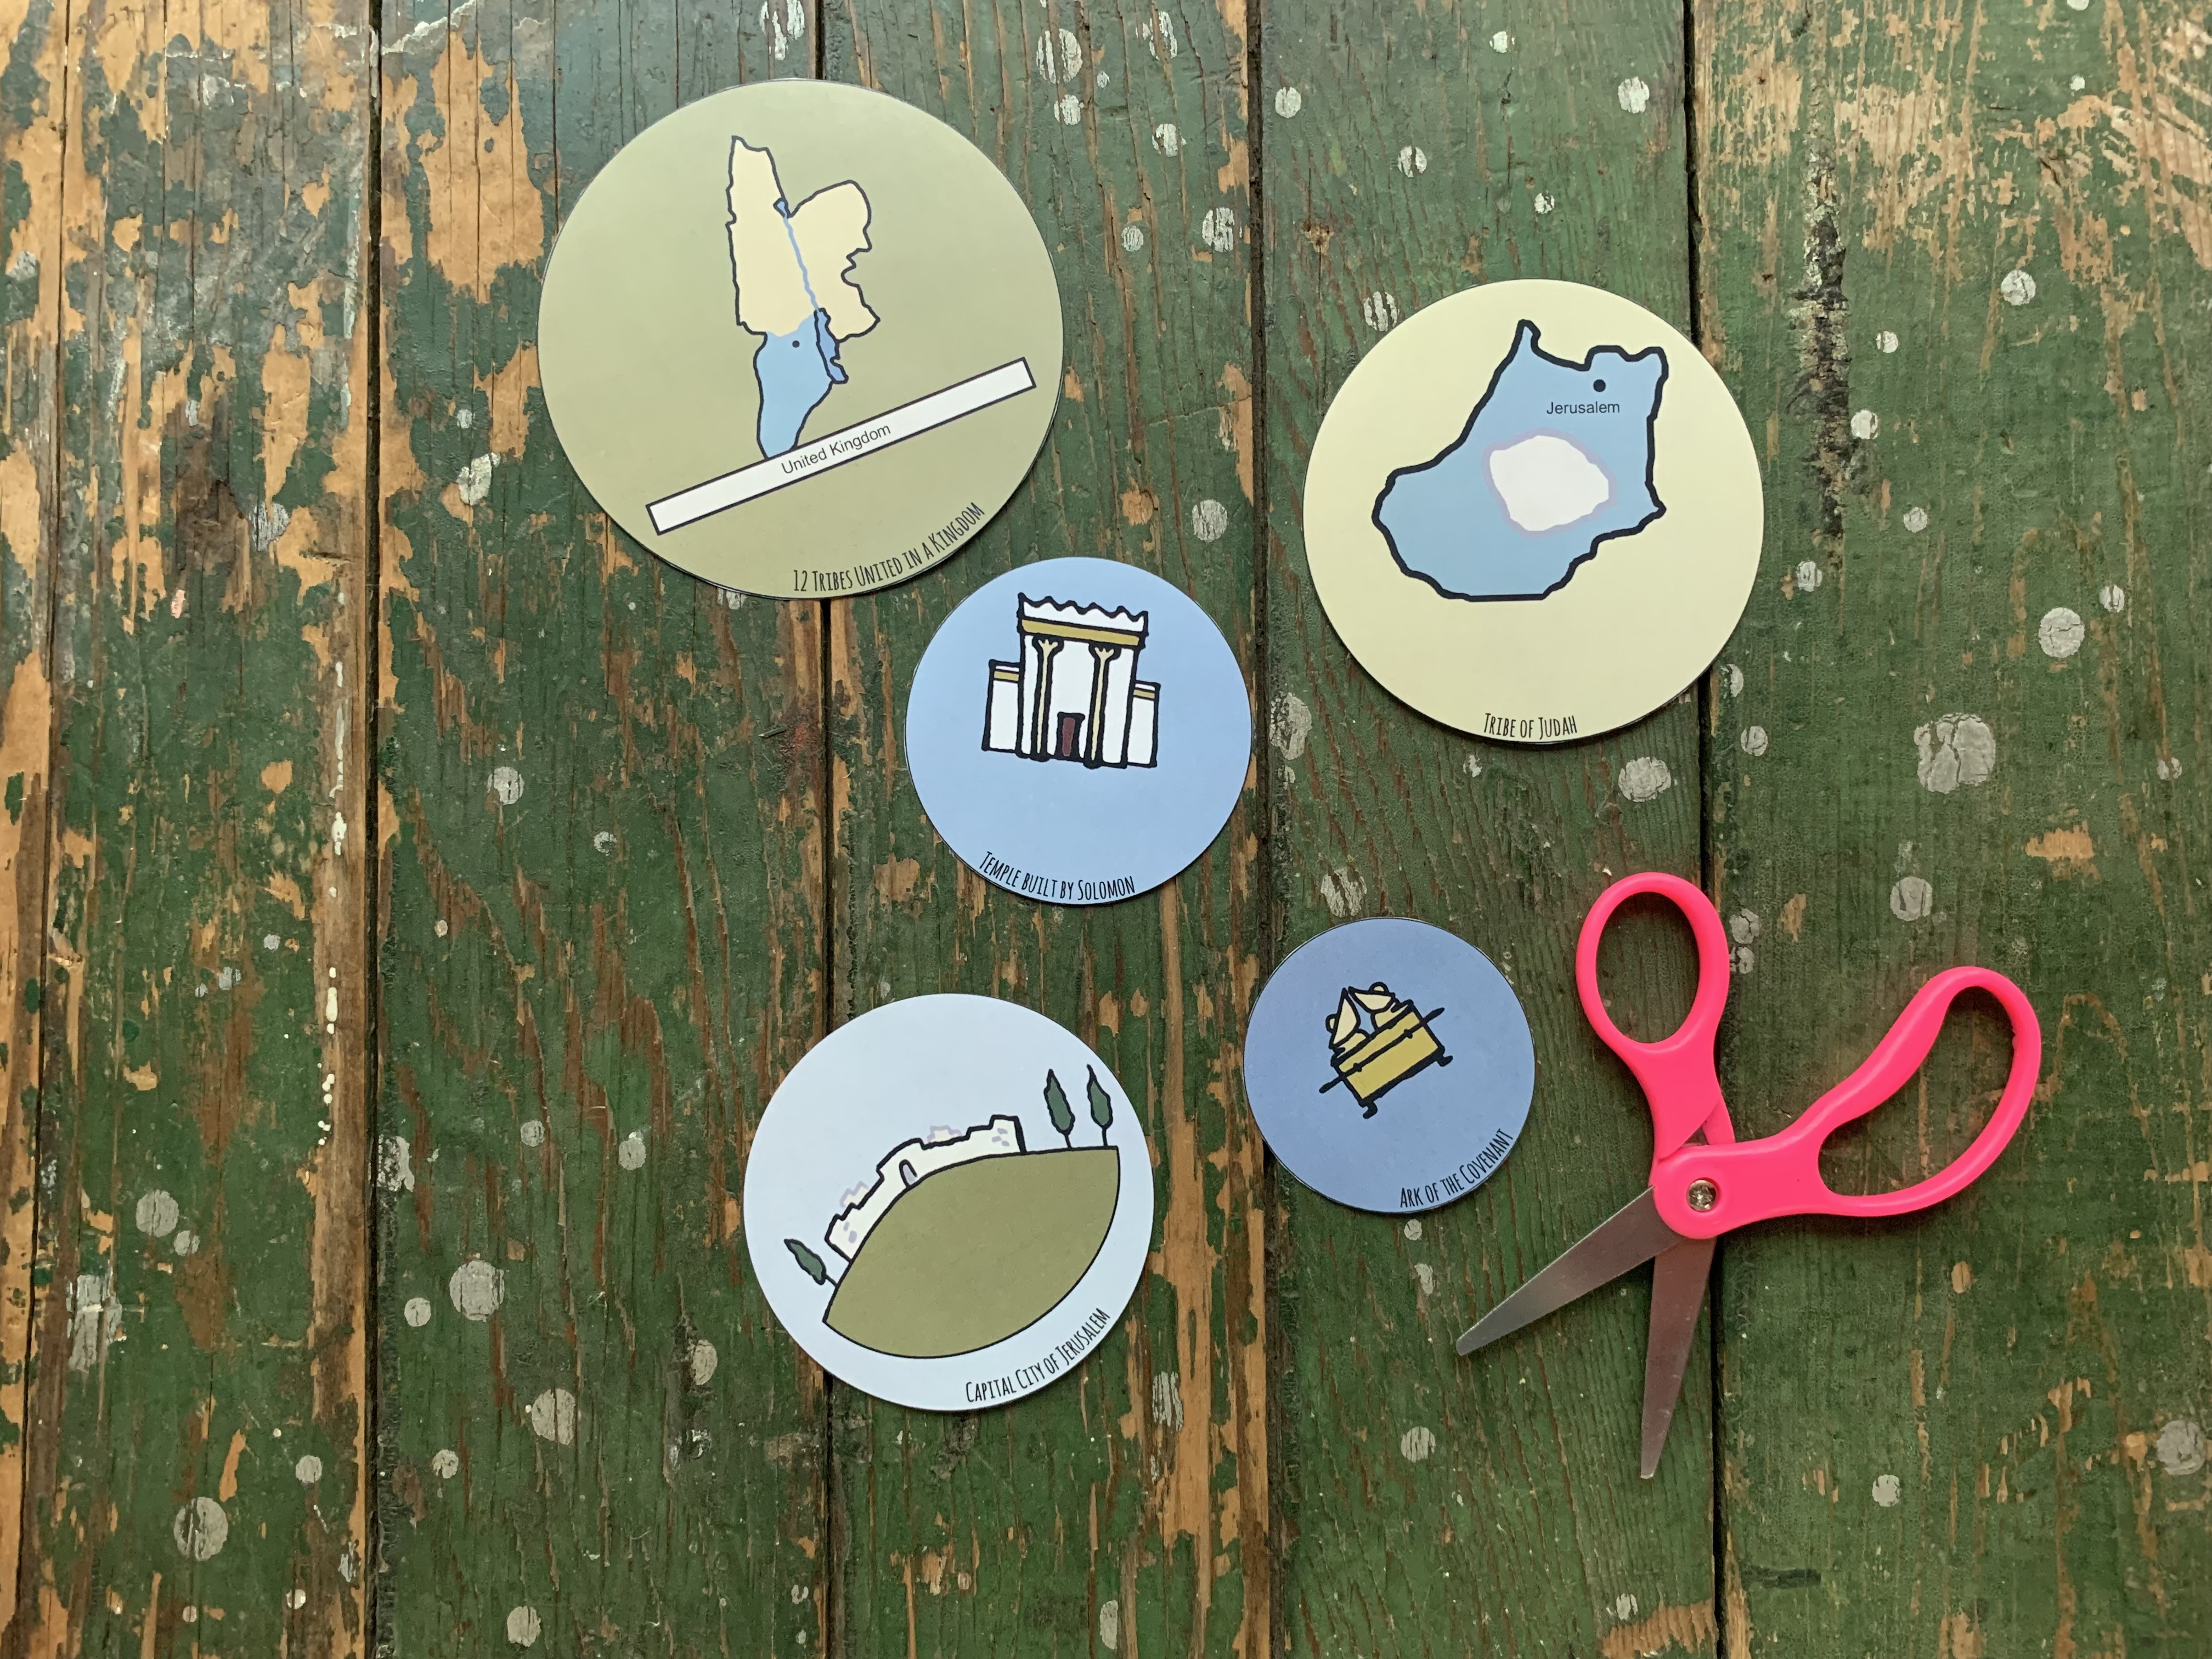
This project is only one page. Simply cut out the five circle “maps.” These circles are somewhat tricky to cut out – consider the modifications below when teaching different ages or levels of ability.
Step 3: Assemble

Page order from bottom to top:
- 12 Tribes of the United Kingdom
- Tribe of Judah
- Capital City of Jerusalem
- Temple Built by Solomon
- Ark of the Covenant
This is the part you want to make sure kids are full participants. Depending on the age and ability, this can be an all-out activity in a bible class (see play modifications). The order and size of each circle helps kids to understand the location of the ark of the covenant during the reign of King Solomon and into the divided kingdom.
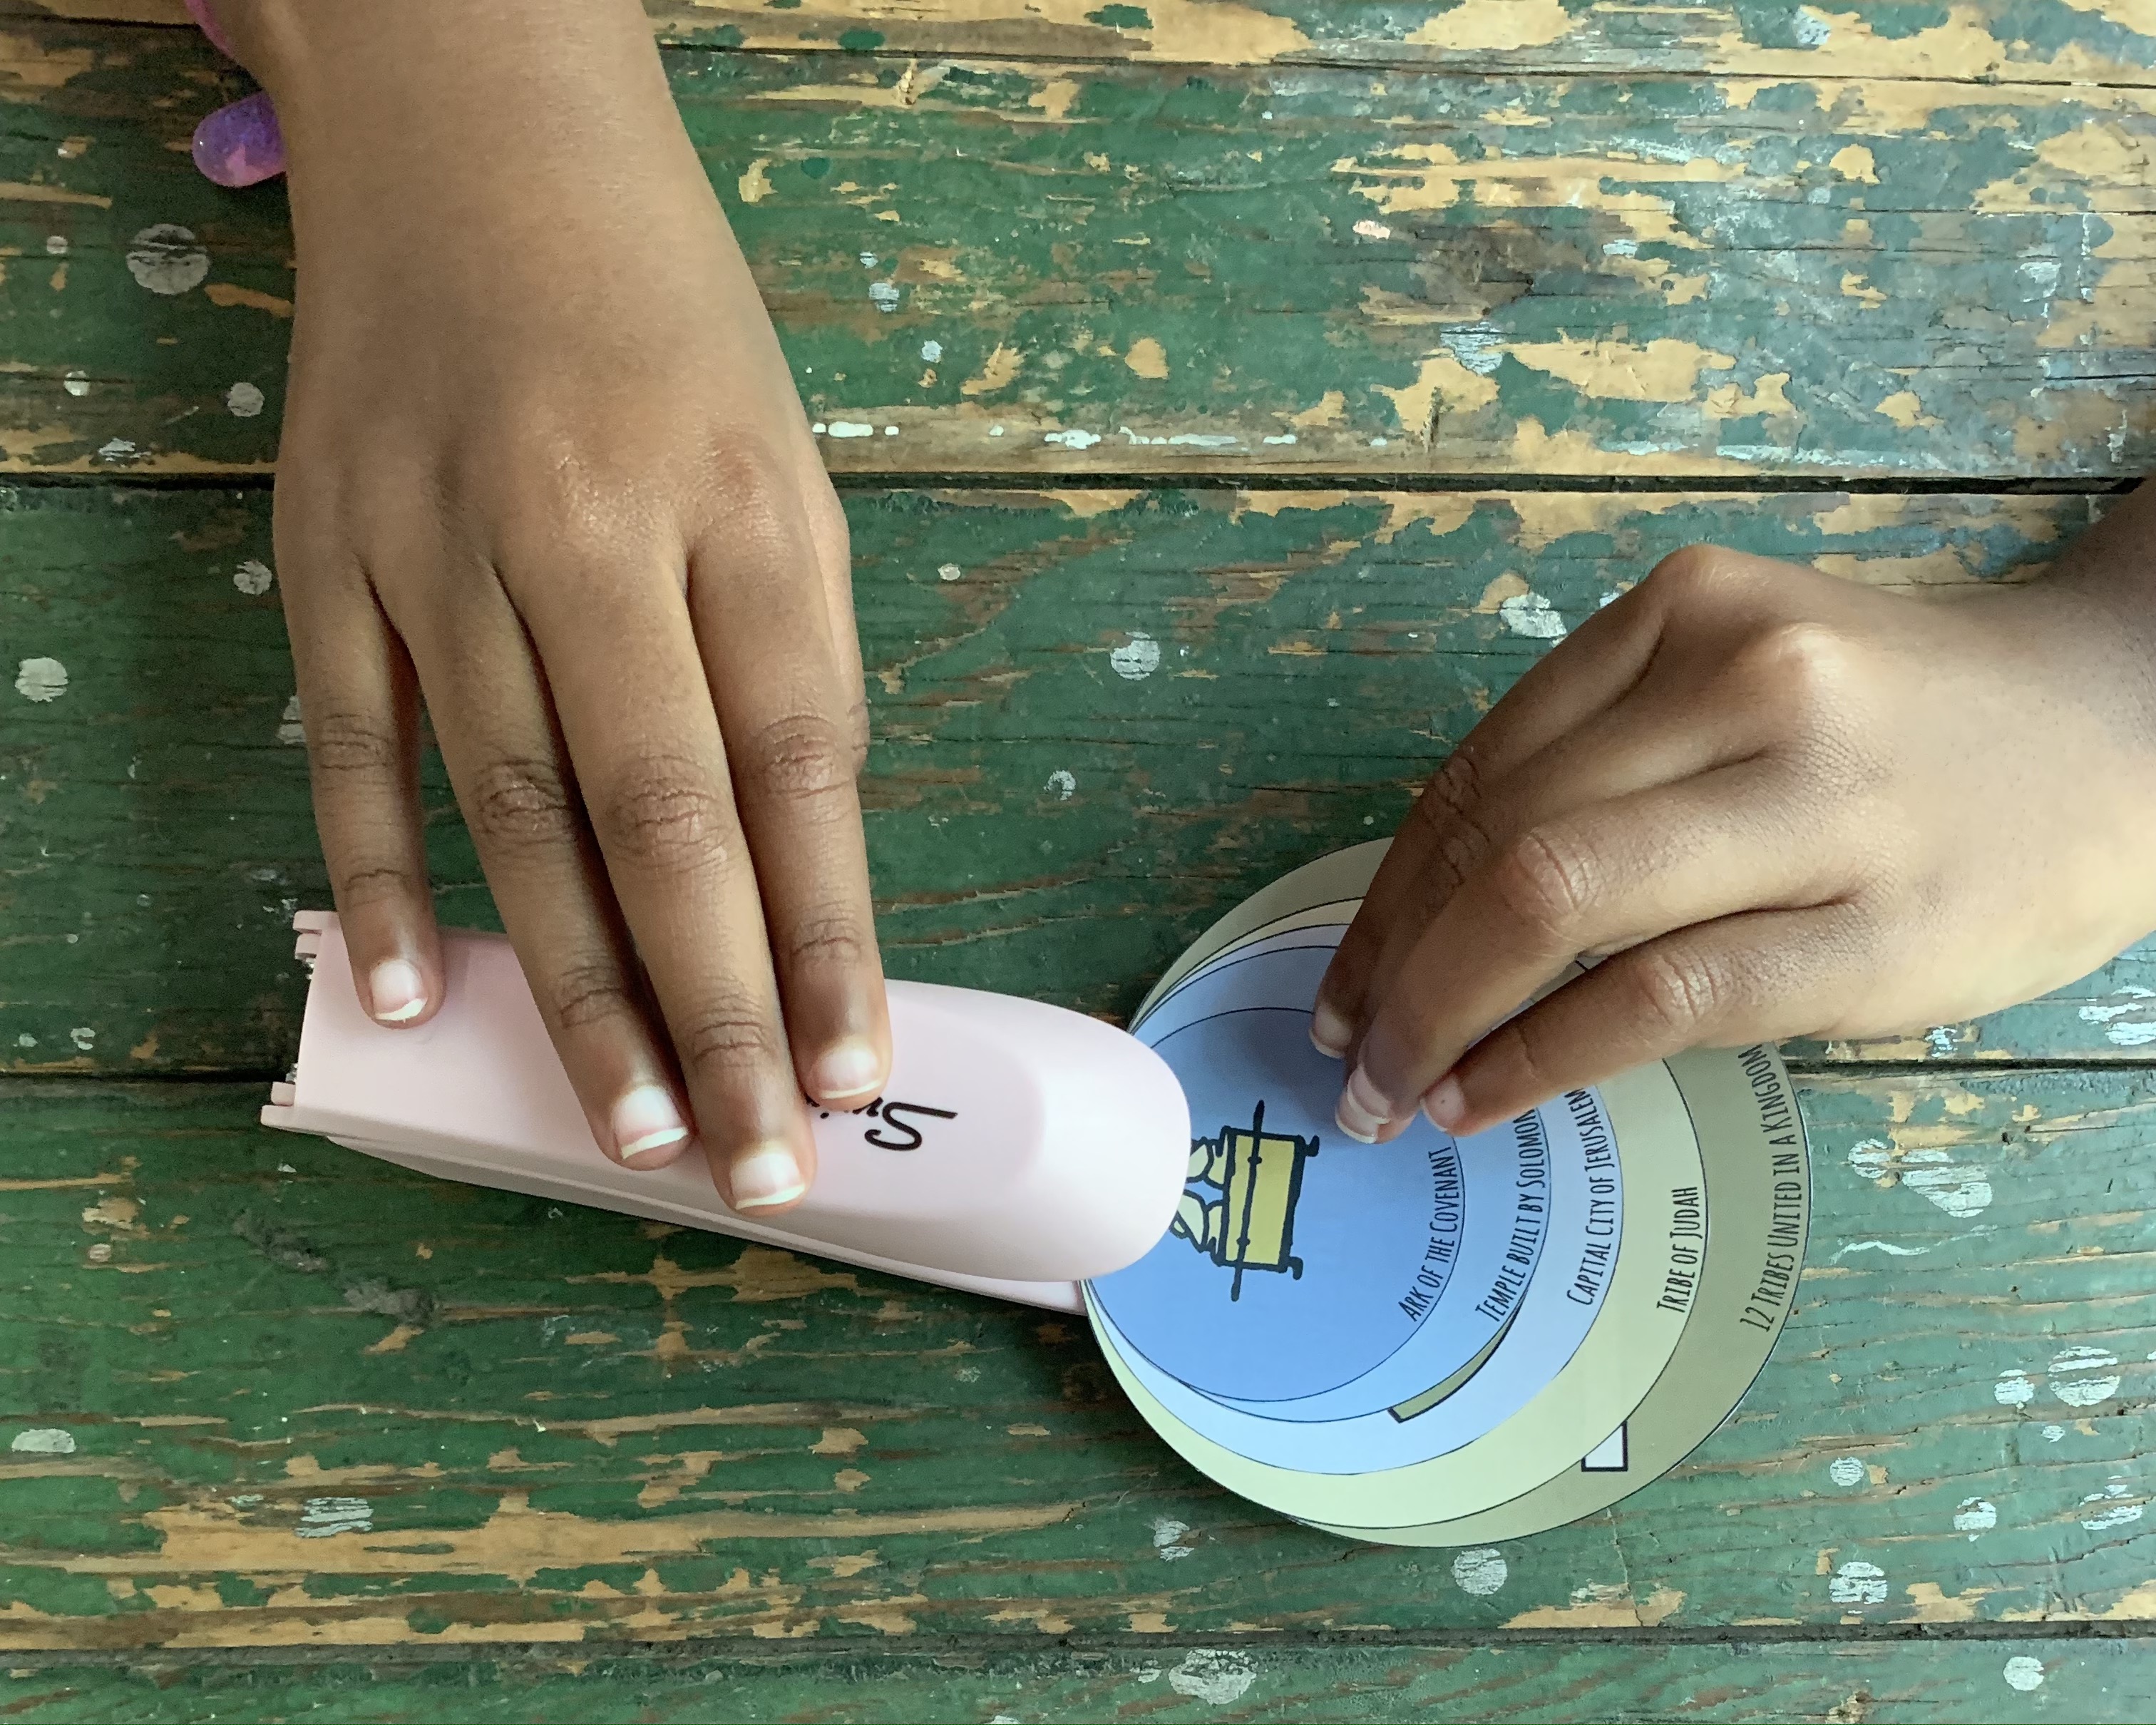
Line all the pages up at the top and fasten together. I’ve used a stapler for the example but there are a lot of way to modify the craft in this step (see below).
Step 4: Play
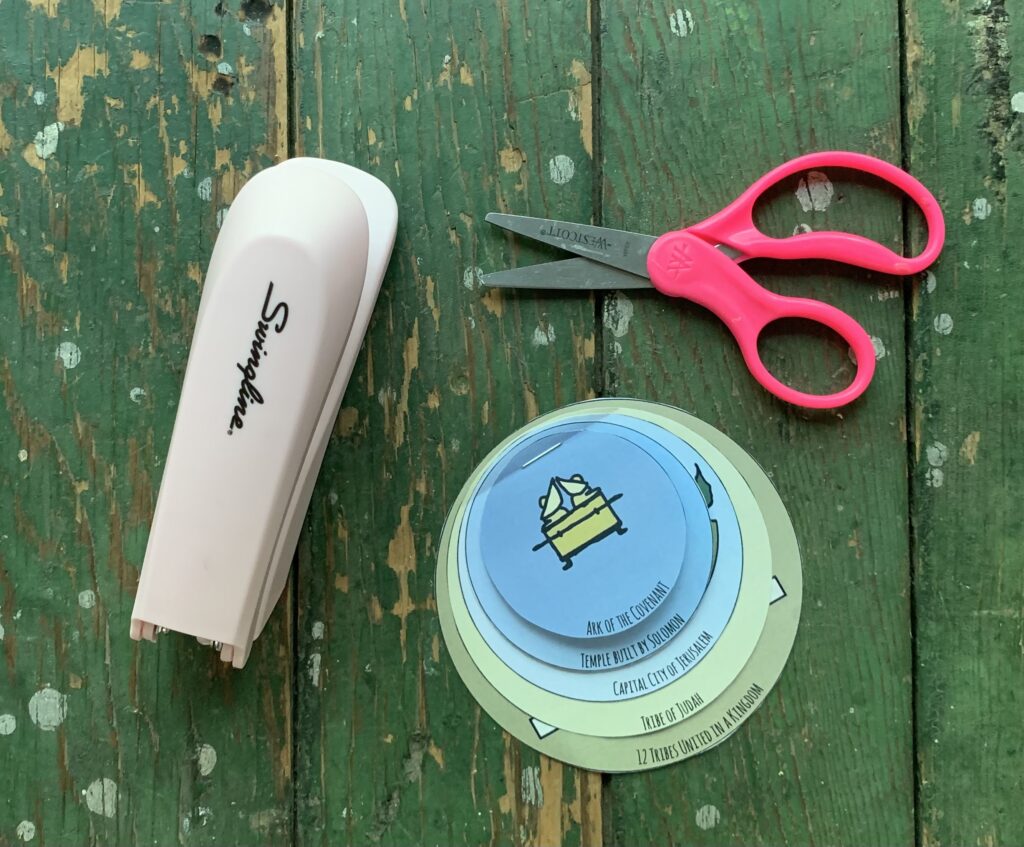
This book can be read over and over again. It reinforces the idea of the temple and makes a great visual reference for children.
That’s it! Enjoy!
Material and Age Modifications
Modify for different Ages and Abilites

(0-3) Cannot cut, color, & paste
This craft can be easily modified for this age group. Consider laminating each “map” page. You can punch a small hole on the top and attach the pages with a ring or brad. Toddlers will like how they stack and should be able to recognize the different sizes as a progression. This would work in a bible class as a review activity or as a manipulative to keep them busy during services.

(4-6) Learning to cut, color, & paste
This is a perfect project for this age group! The different sizes will help them understand the location. Consider pulling out maps or zooming in and out of google earth to help reinforce this idea. Depending on the interest and ability of each child, most kids this age should be able to make this book pretty easily. If they don’t like coloring or cutting – I don’t usually push it in bible class. The stacking is where the learning really happens. Coloring and cutting help children invest in the project. You know your kids – find what works for you!
(7-9) Cut, color, & paste well
I would suggest printing the craft in black and white and having the kids color the book themselves. This allows them to have ownership over their craft. This age would really benefit from seeing maps and google earth to make real-life connections. Consider also reading some of the connection passages listed above and discussing them.
(10-12) Cut, Color, & Paste Precisely
This craft may be a bit basic for this age. However – if you have a class with huge age gaps – I have found most older kids enjoying making little crafts. Again, print in black and white, have the kids color and read the passages from the bible. Also consider the printing modifications below.
Modify with different crafting materials
Third Culture Crafts is all about making the process easy! If you don’t have something on-hand, here are a few simple modacations that can be made to the supply list.
1. Print
If you don’t have a printer, don’t worry. The “Me Map” is a common project done with early elementary kids to help children realize where they fit into the world. Simply cut papers into different sizes of the same shape – a rectangle or square may be easier to cut and work just as well as circles. Have the kids draw the ark of the covenant on the smallest shape first. On the next to smallest shape, draw the Temple built by Solomon. Continue drawing on the next biggest shape until you’ve added all the layers you want. For this project, I wanted kids to know the temple was in Jerusalem and that Jerusalem ended up in the Southern kingdom of Judah. But if you are drawing your own, you may chose to use different “locations” to help reinforce something else.
Also consider printing on card stock for longer lasting pages.

2. Cut
Unfortunately there are not a lot of ways around cutting although you could tear the pieces out or make a “Me Map” from scratch (see print modifcations).

3. Assemble
However you decide to execute this project, make sure the the page sizes change progressively. This is what helps kids visualize location – much like zooming in and out on google earth.
I chose a stapler because I thought it would be something most people would have on hand. However, there some great ways to modify the craft in this area. Consider punching an hole at the top and connecting the pages together with a brad, metal ring, or paperclip. The important thing to remember is that the pages ultimately need to be stackable.

4. Play
As stated above, the construction on the project is the important part. This particular project is simply a great resource to help kids make connections and reinforce biblical ideas.

