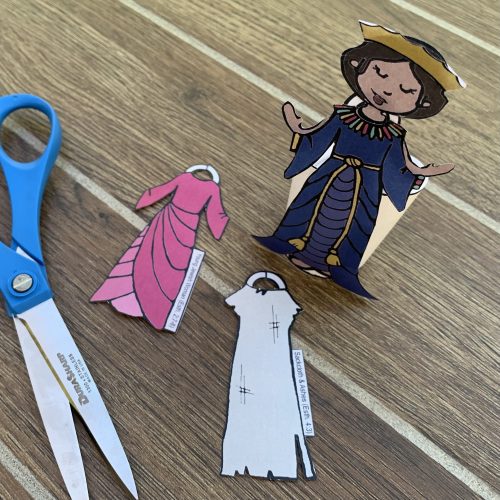
The book of Esther is the biblical account of a young Jewish woman named Esther living in the time of the Persian Empire. While some of the remnant of Judah had already been allowed to return to Jerusalem and begin rebuilding the temple, most stayed scattered among the surrounding nations. The Persians were certainly not as harsh of oppressors as the Babylonians or Assyrians. However, God’s chosen remnant still suffered at the hands of those who opposed them. Esther is a story of great heroism and courage motivated by faith in God.
Depending on the situation, I personally feel like this project works best as a visual in a bible class, an “at-home” project, or a take-home project given out at the end of bible class. The cutting is time consuming and will most likely need to be done by an adult. However, it is a great way to open conversions about doing what is right when it is scary. It is also one of my daughter’s favorite projects. She has continued to play with her paper doll through the years.
Other biblical connections:
Apart from providing the historical context for Purim, the book Esther is a wonderful example of the priviledge we have as individuals to be apart of God’s great plan for His Kingdom. Consider discussing providence in the context of Mordecai’s advice (Esther 4:13-16). Compare these verses with the our Spiritual freedom described in Romans 8.
All you need for this paper doll is a printer and a pair of scissors. It can also be adapted for many different ages and is a great visual when teaching various ages or learning levels together in one class. While the large majority of Third Culture Crafts also require an adhesive, the Esther paper doll secures easily using a series of folds and cuts.
Step 1: Download & Print
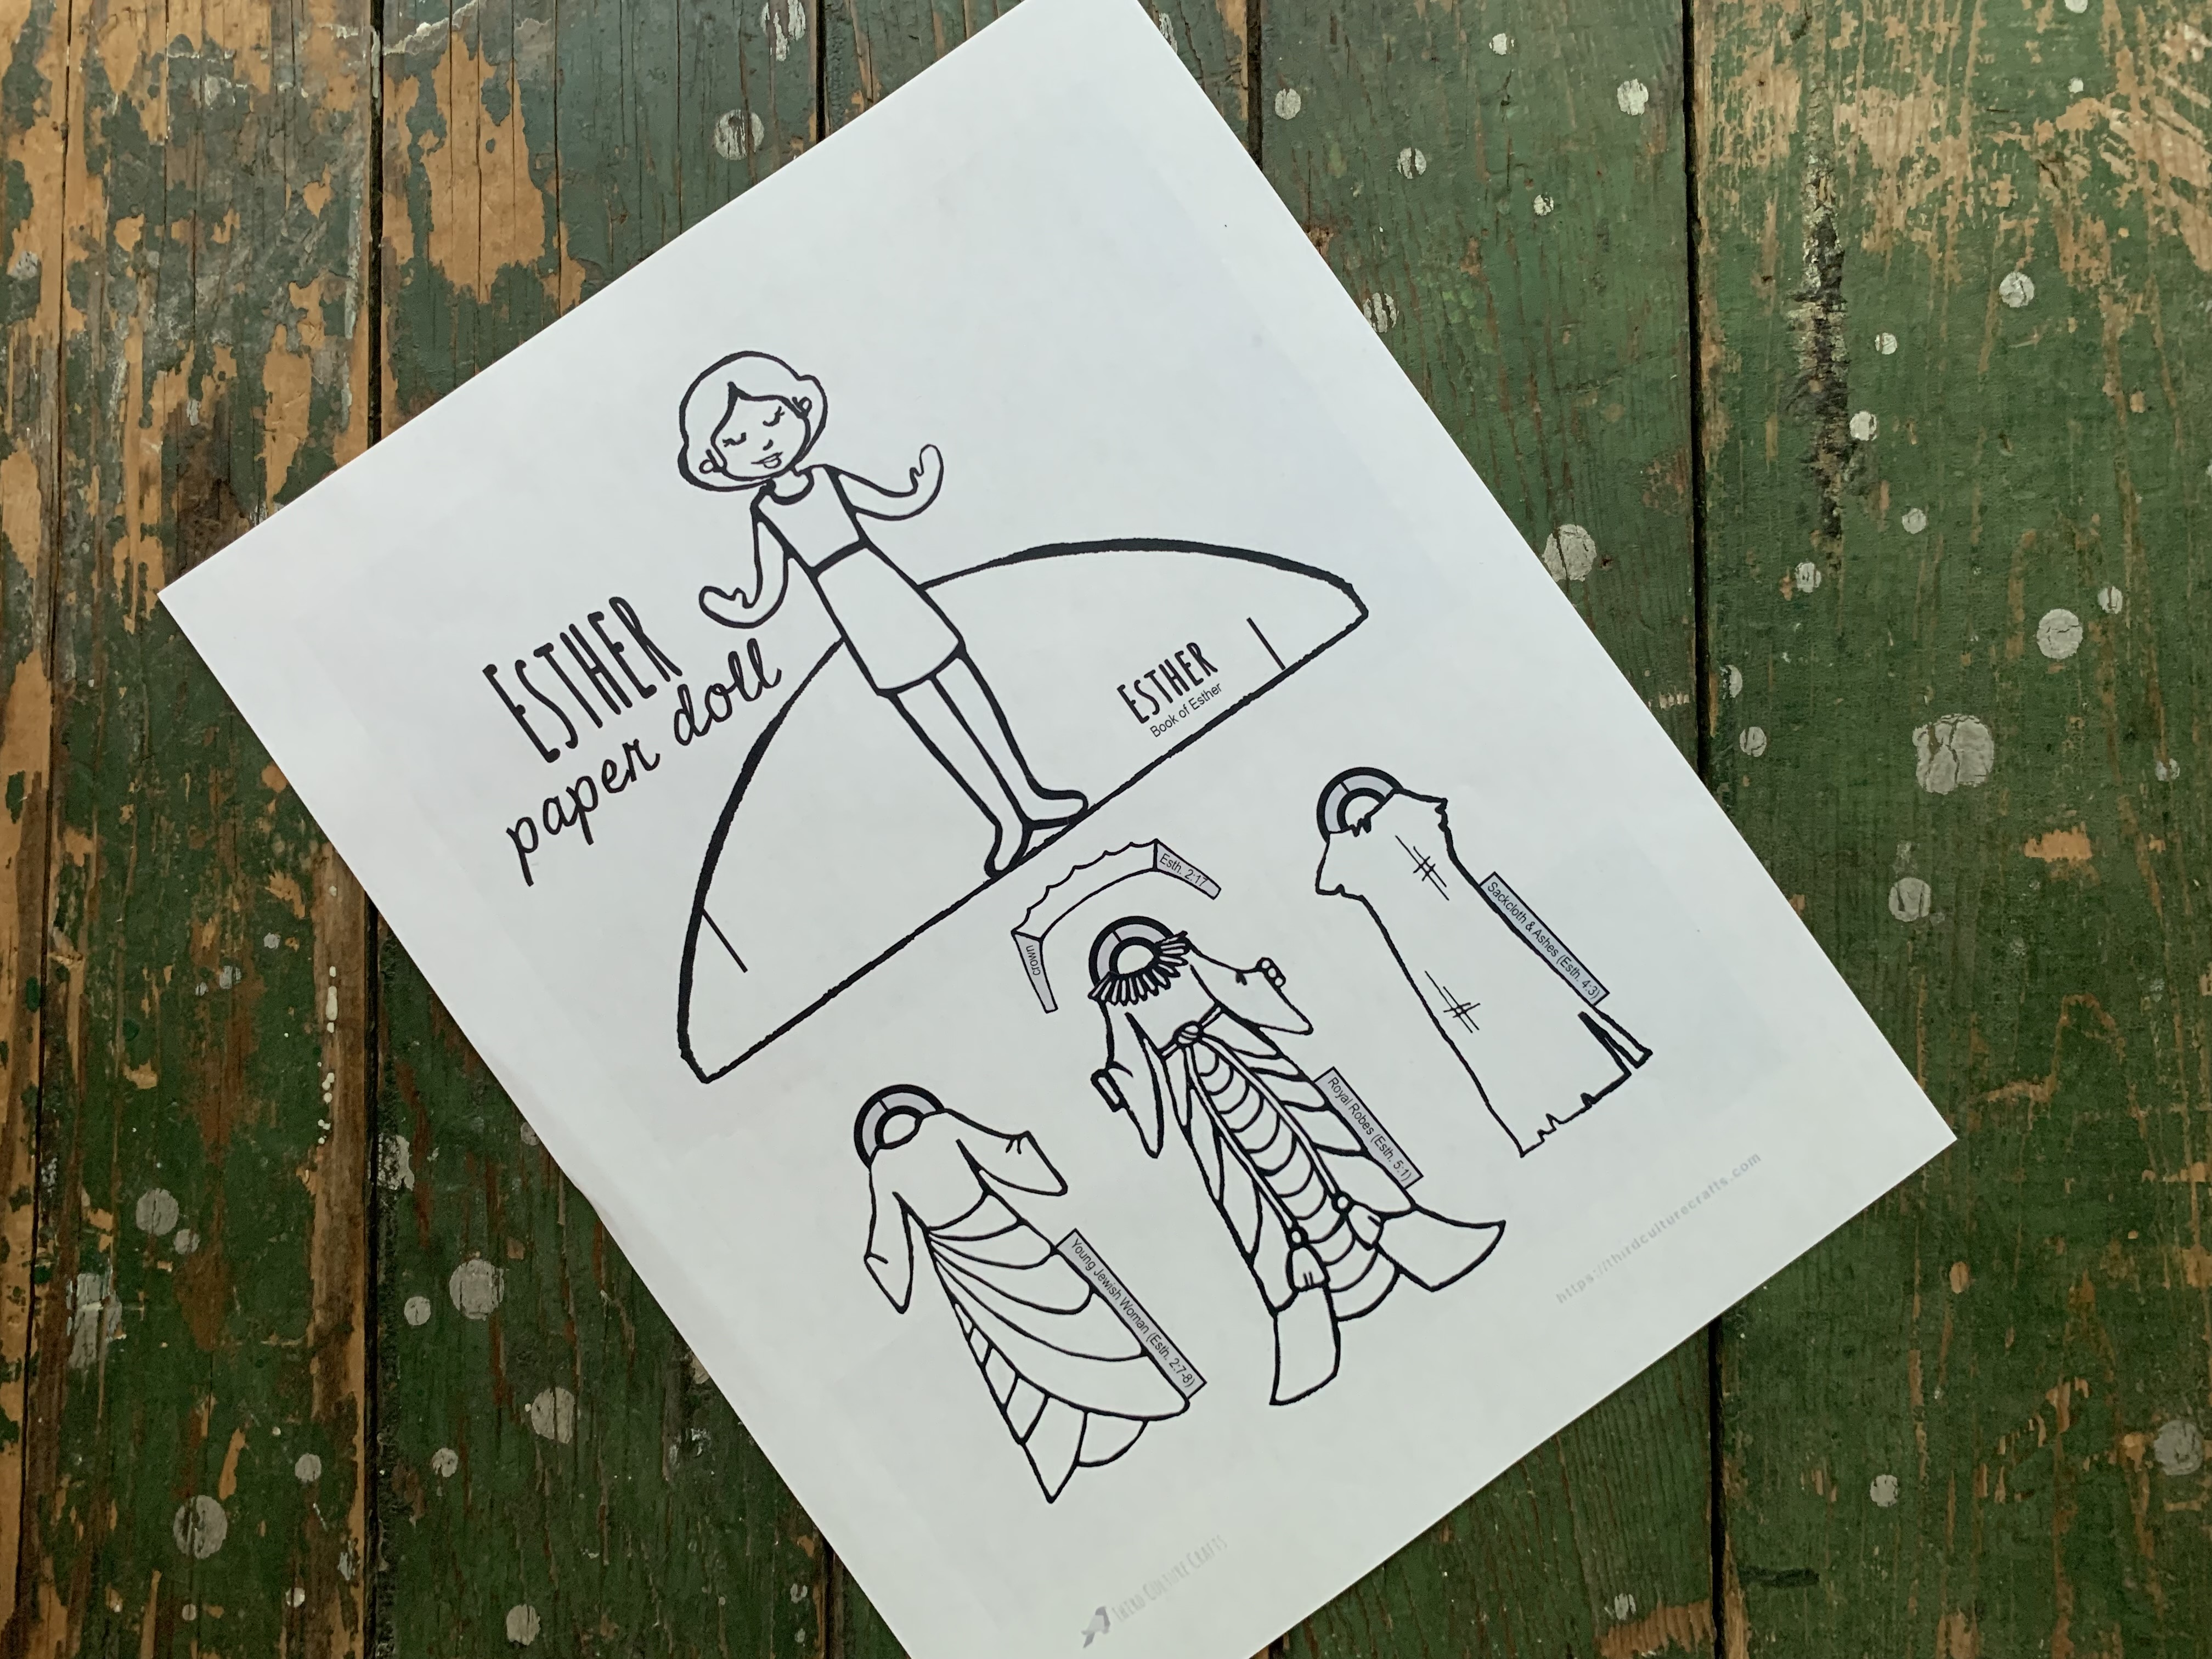
Print in black and white:
This is a great option for all those young fashion designers who have specifics ideas and opinions about what up-and-coming queens wore during the Persian empire. This allows the child to make the doll their own. Simply color with color pencils, crayons, or markers!
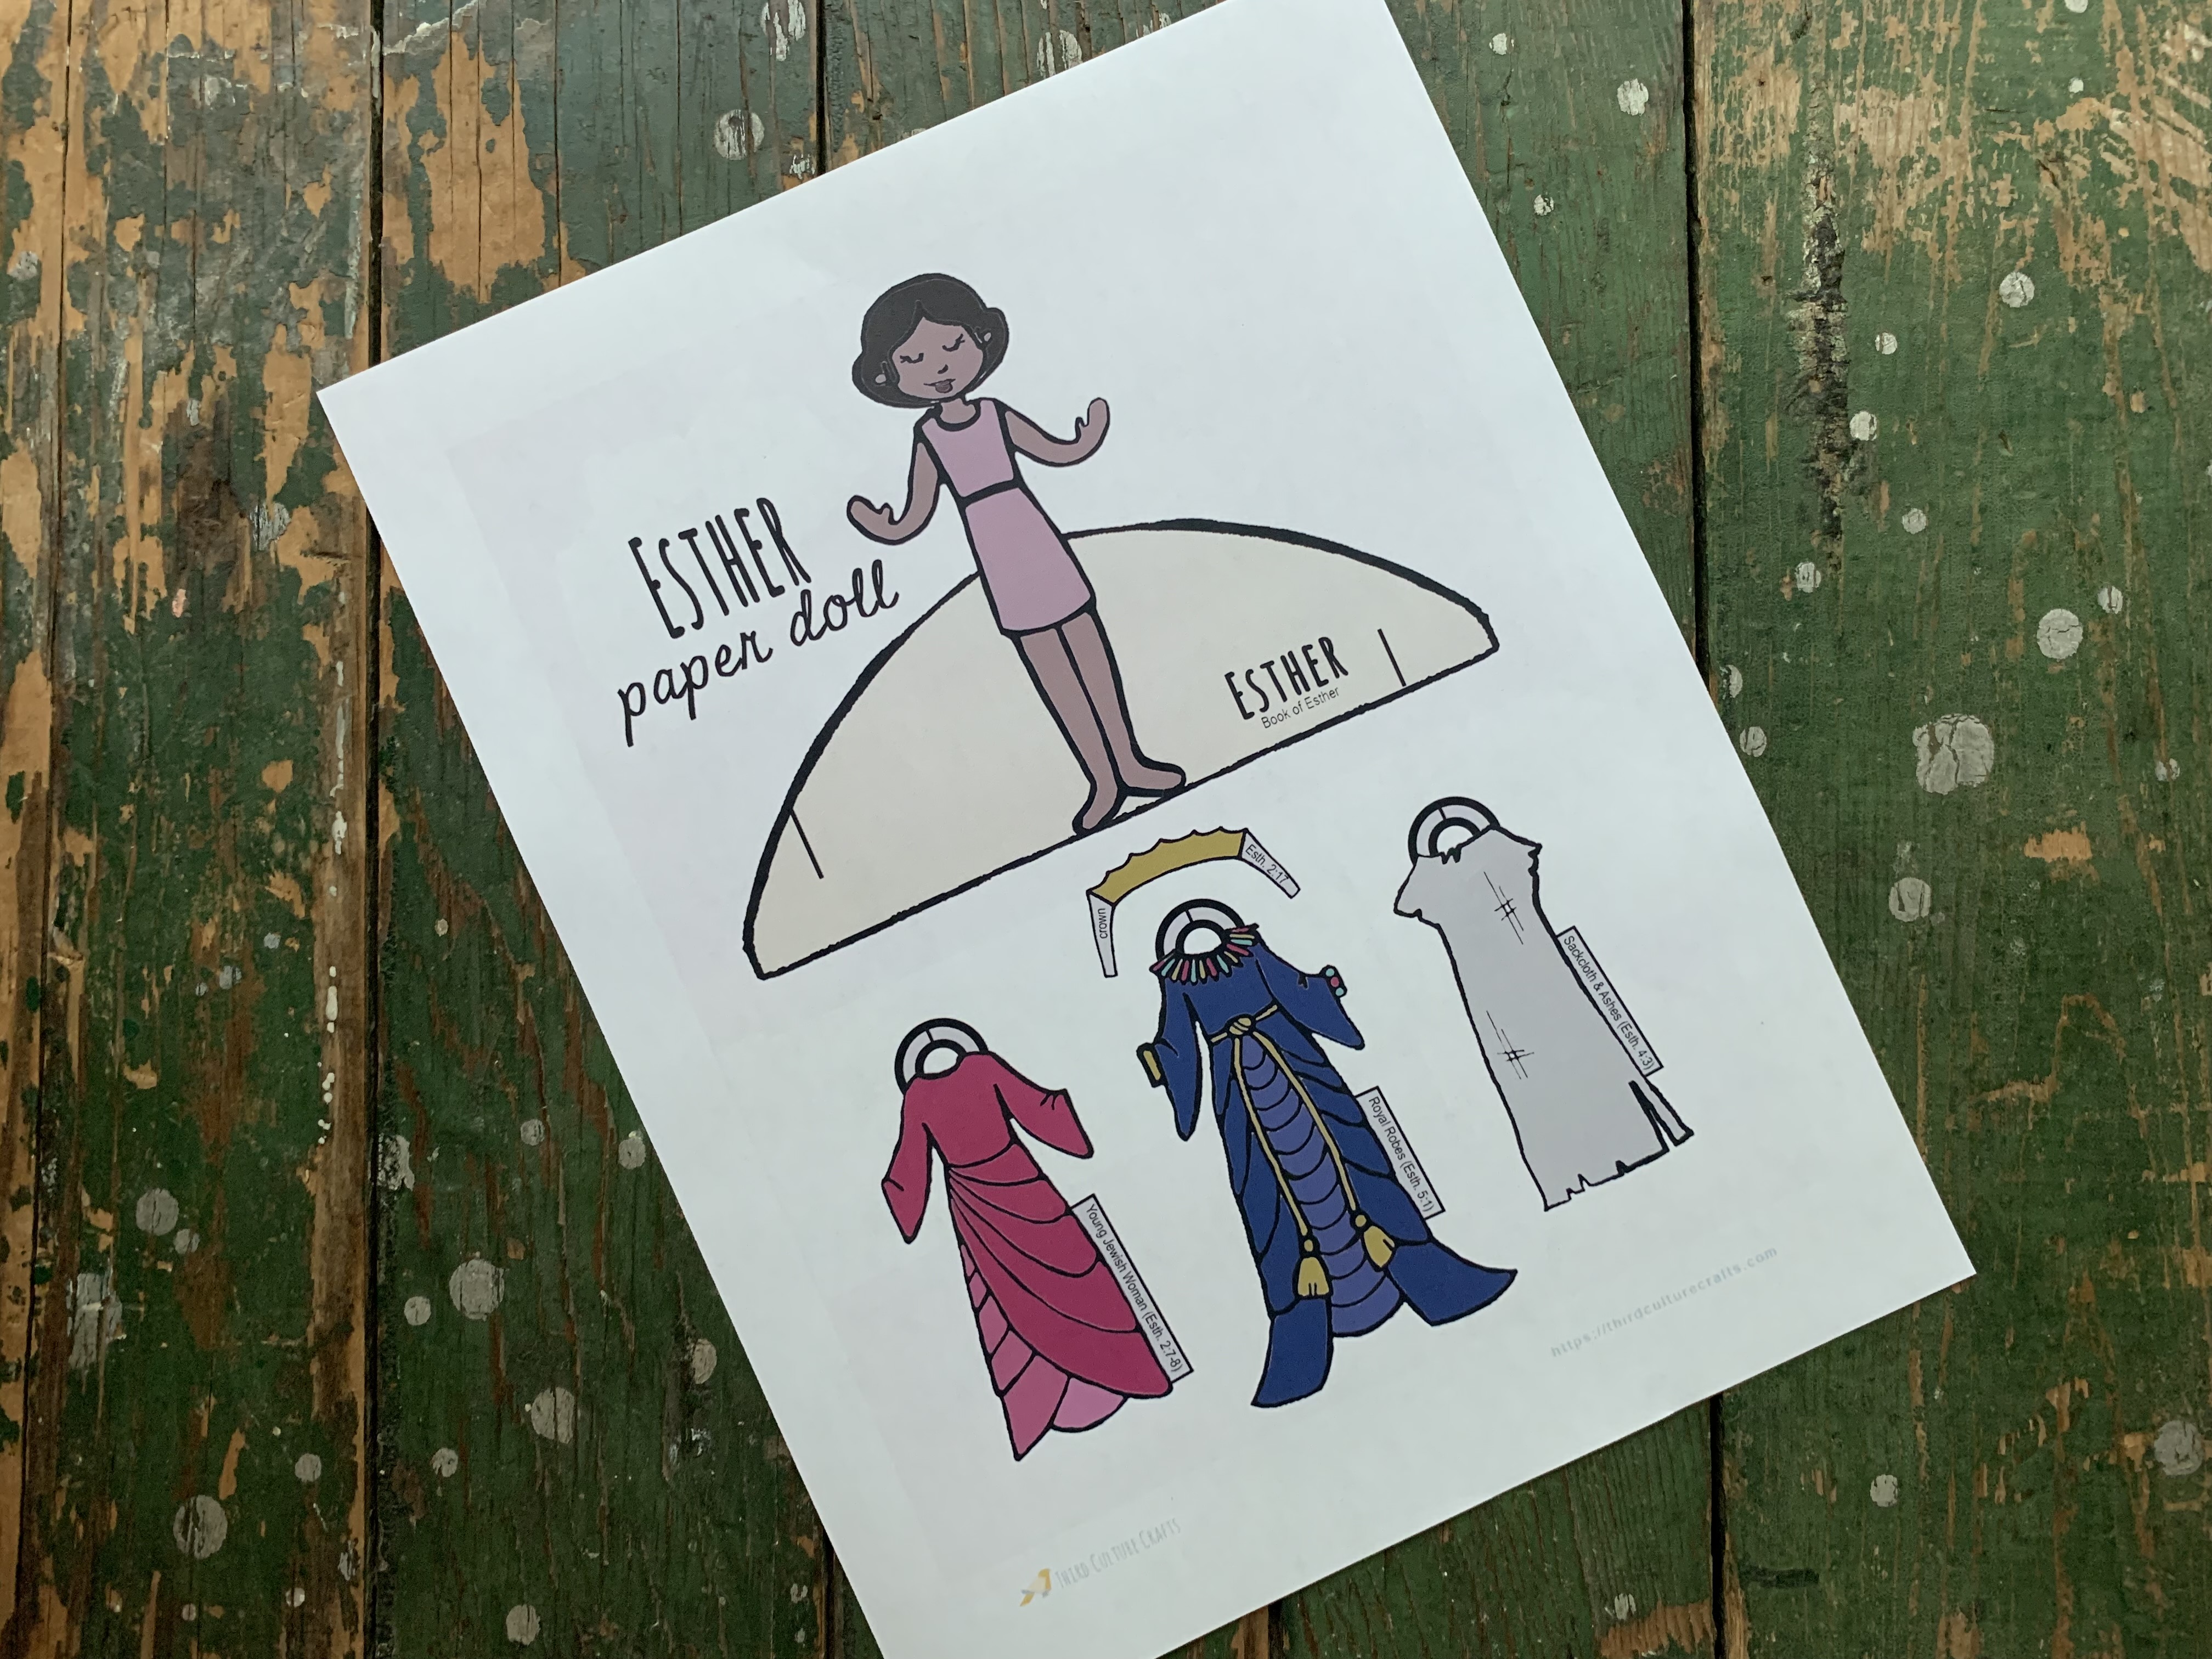
Print in color:
This is a better option for younger kids, the craft non-enthusiast, or to simply make the project go much faster.
Step 2: Cut
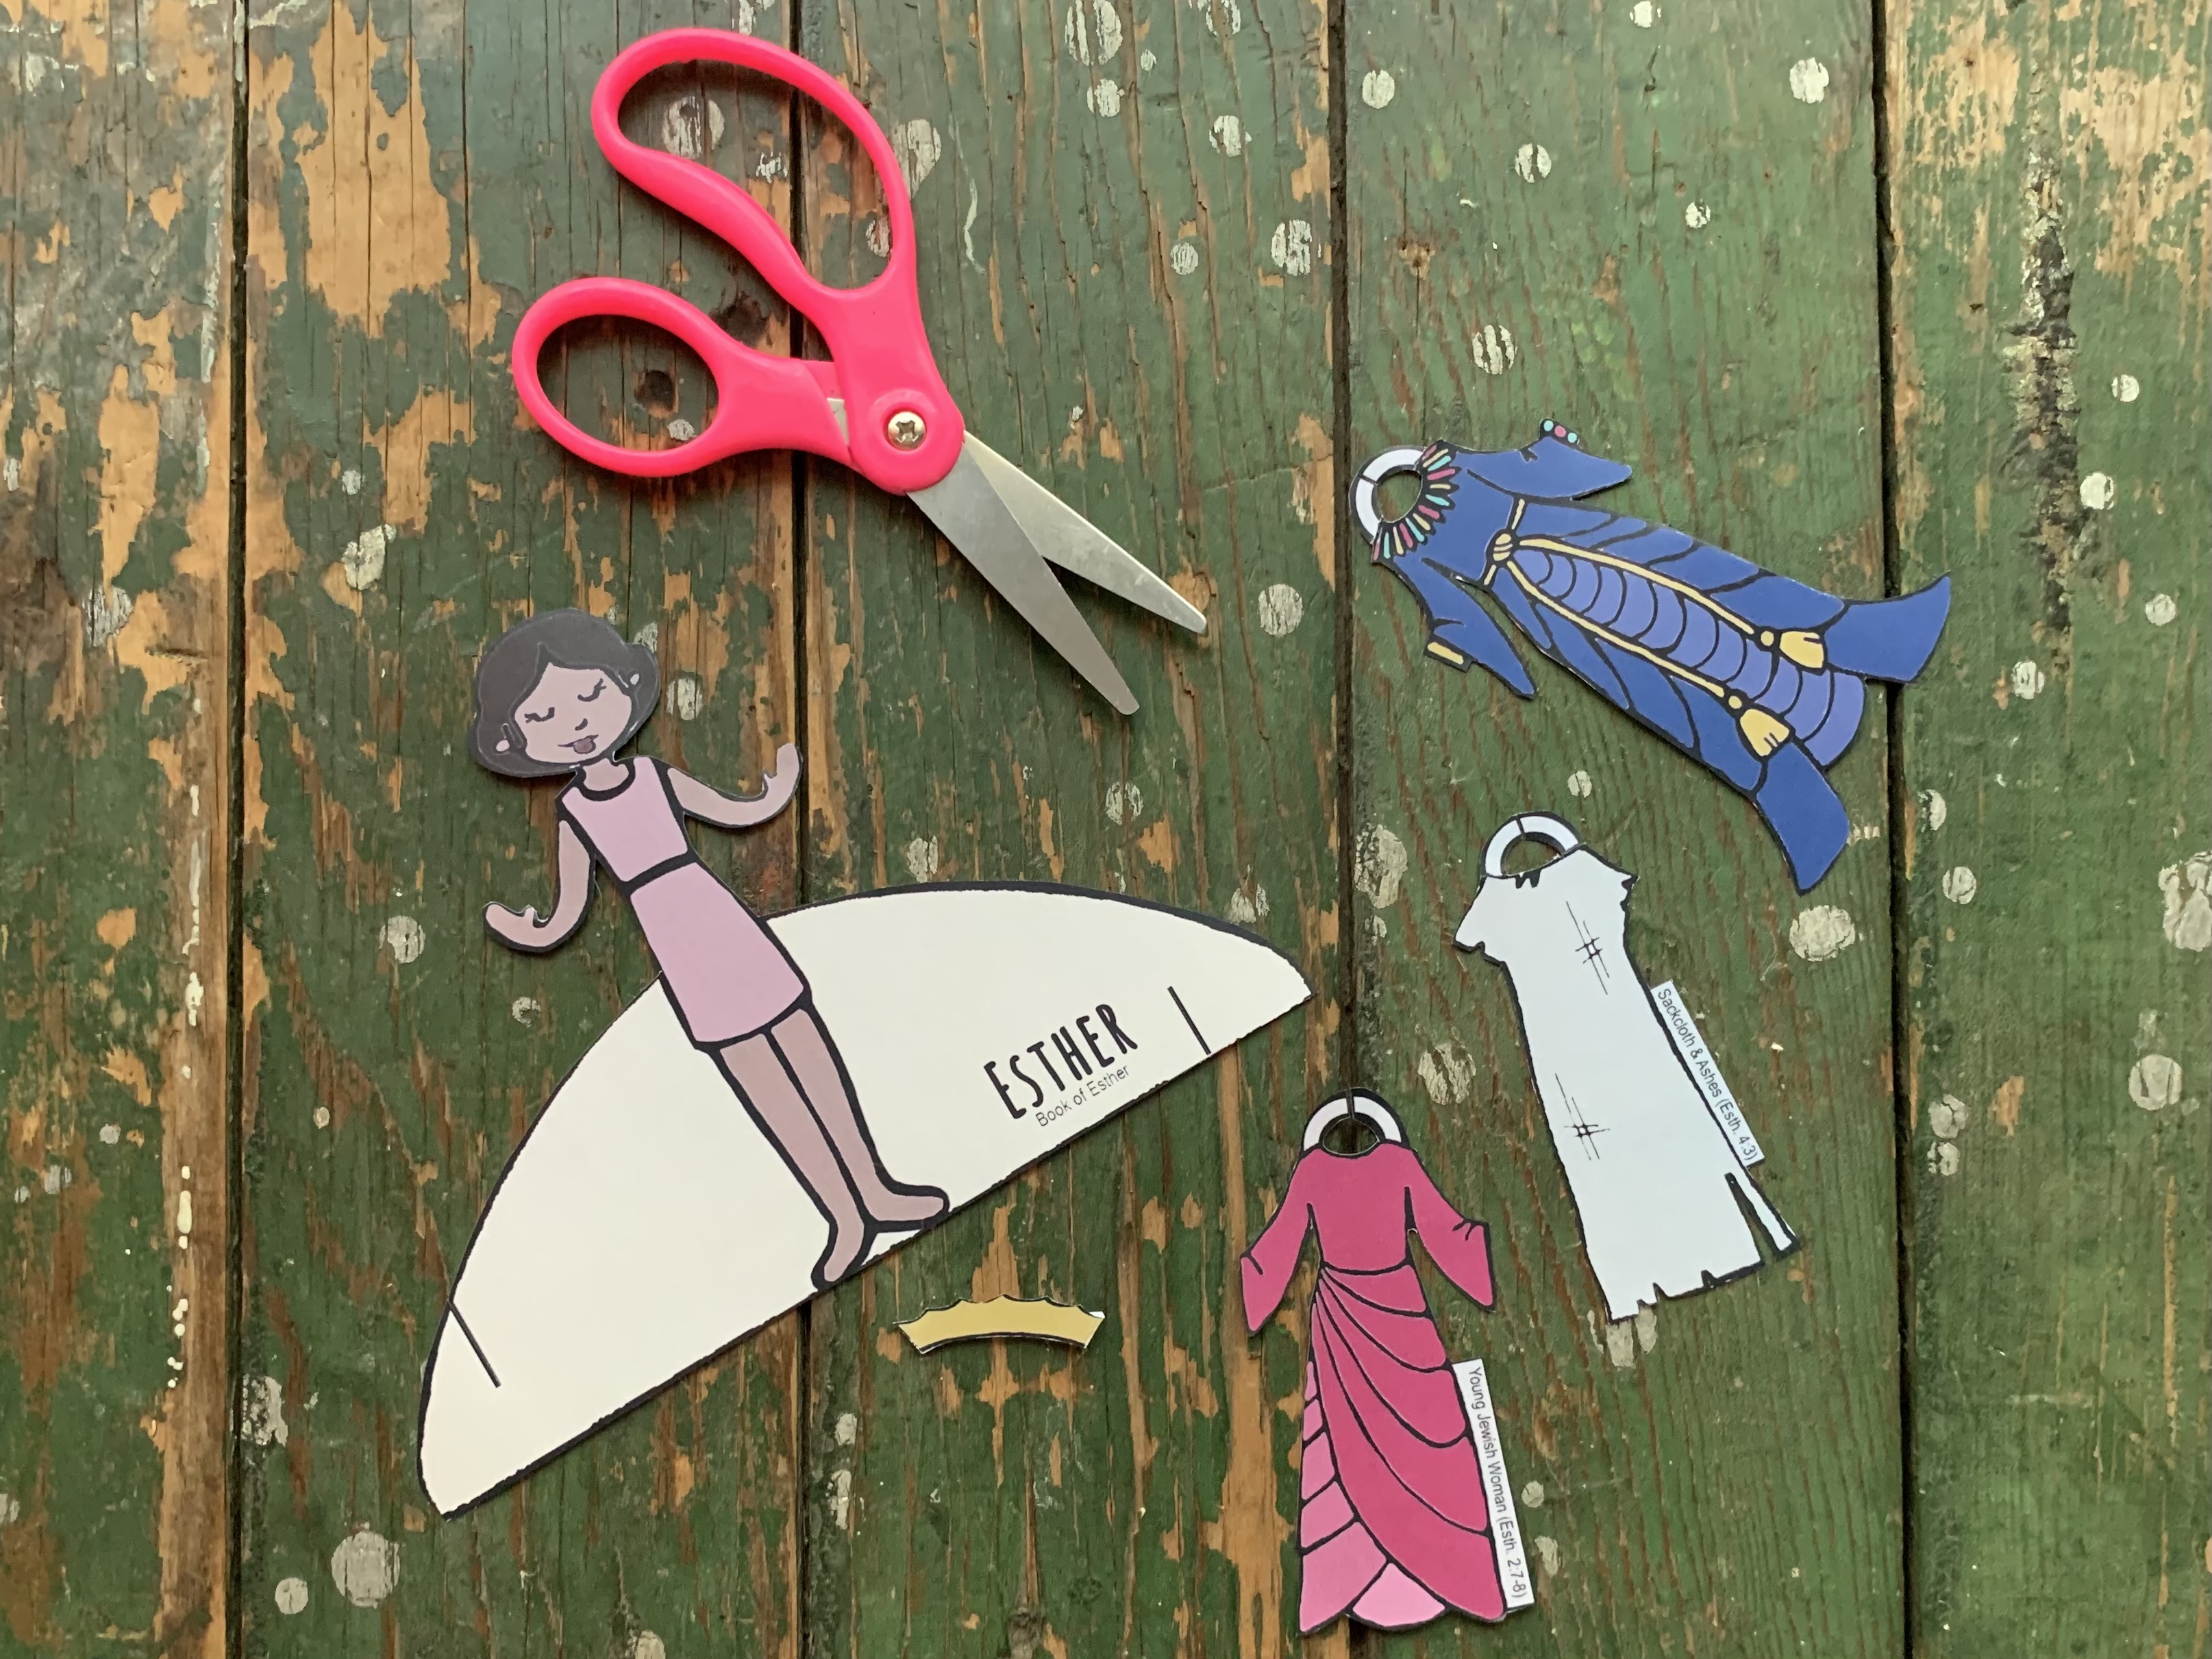
This project is only one page but the shapes are tricky and tedious to cut out. Please remember to leave the the grey “tags” at the top/side of the dresses and sides of the crown. These not only provide verses for biblical context, they also attach the clothes to the Esther doll and allow a child to change the clothes easily.
Step 3: Assemble
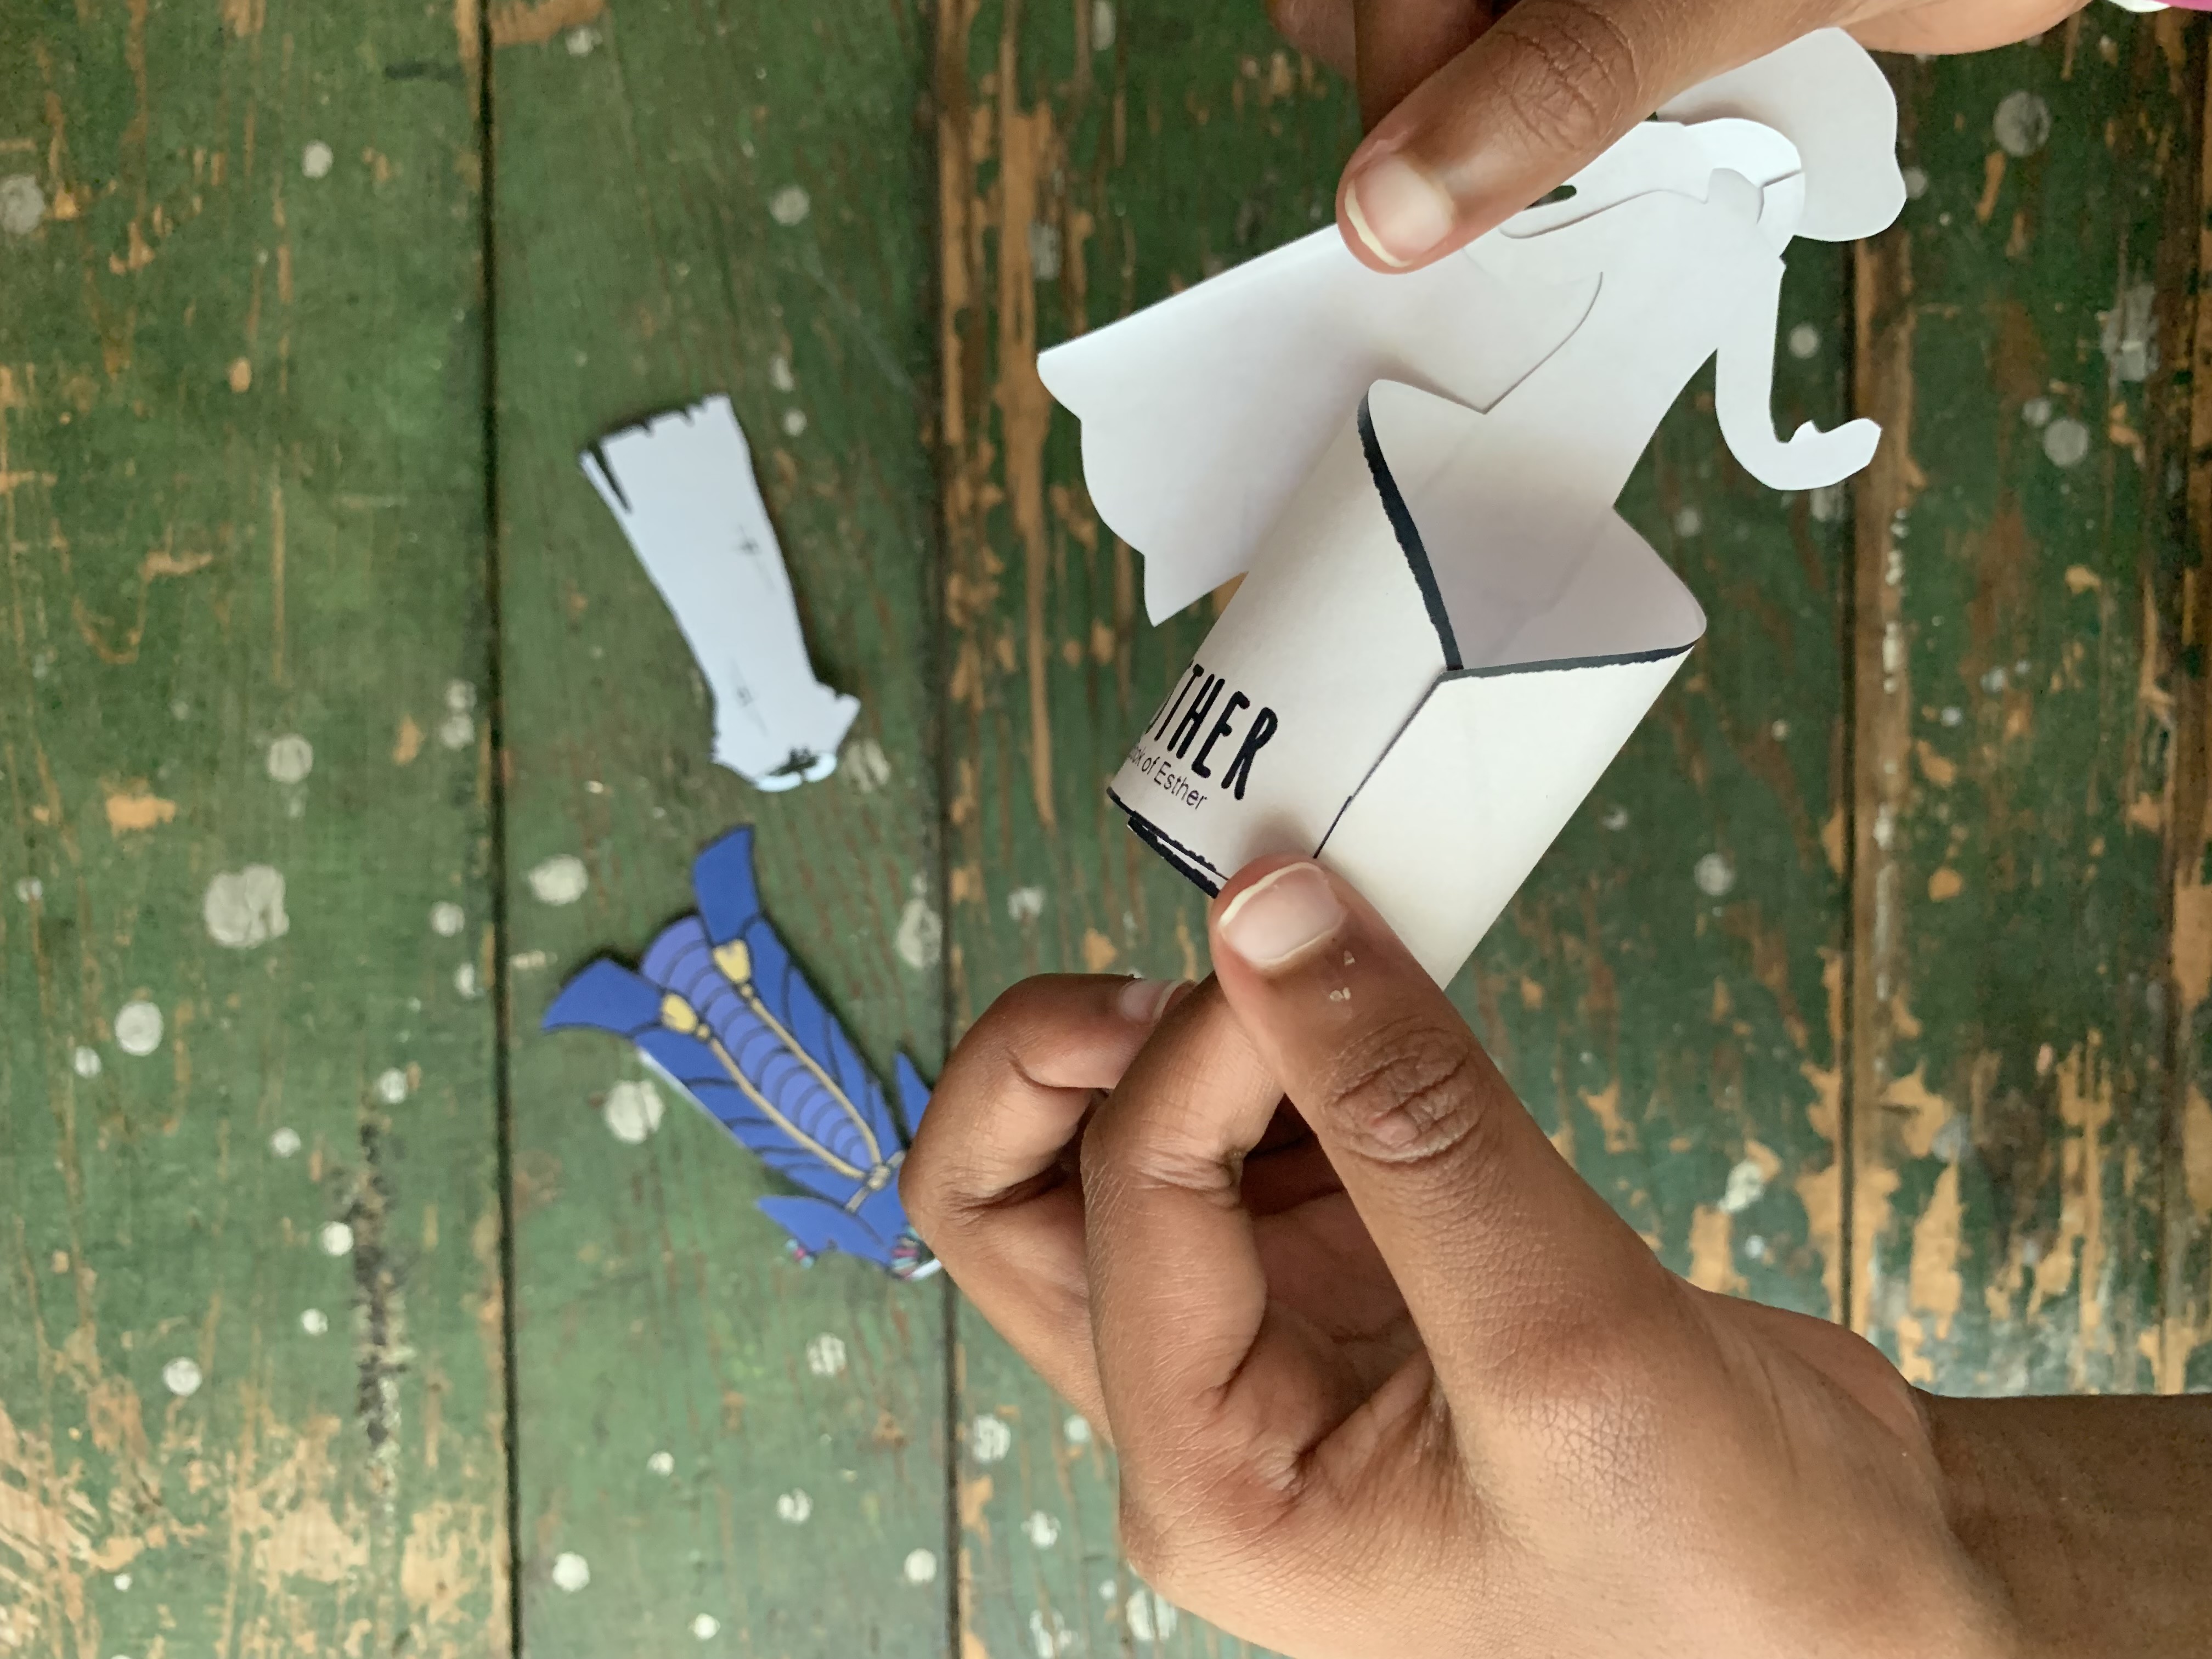
As stated above, no adhesive is needed for this project. To allow Esther to stand, simply loop the “wings” on either side of her legs back behind her and insert them into each other using the slits you cut (see video for clarification).
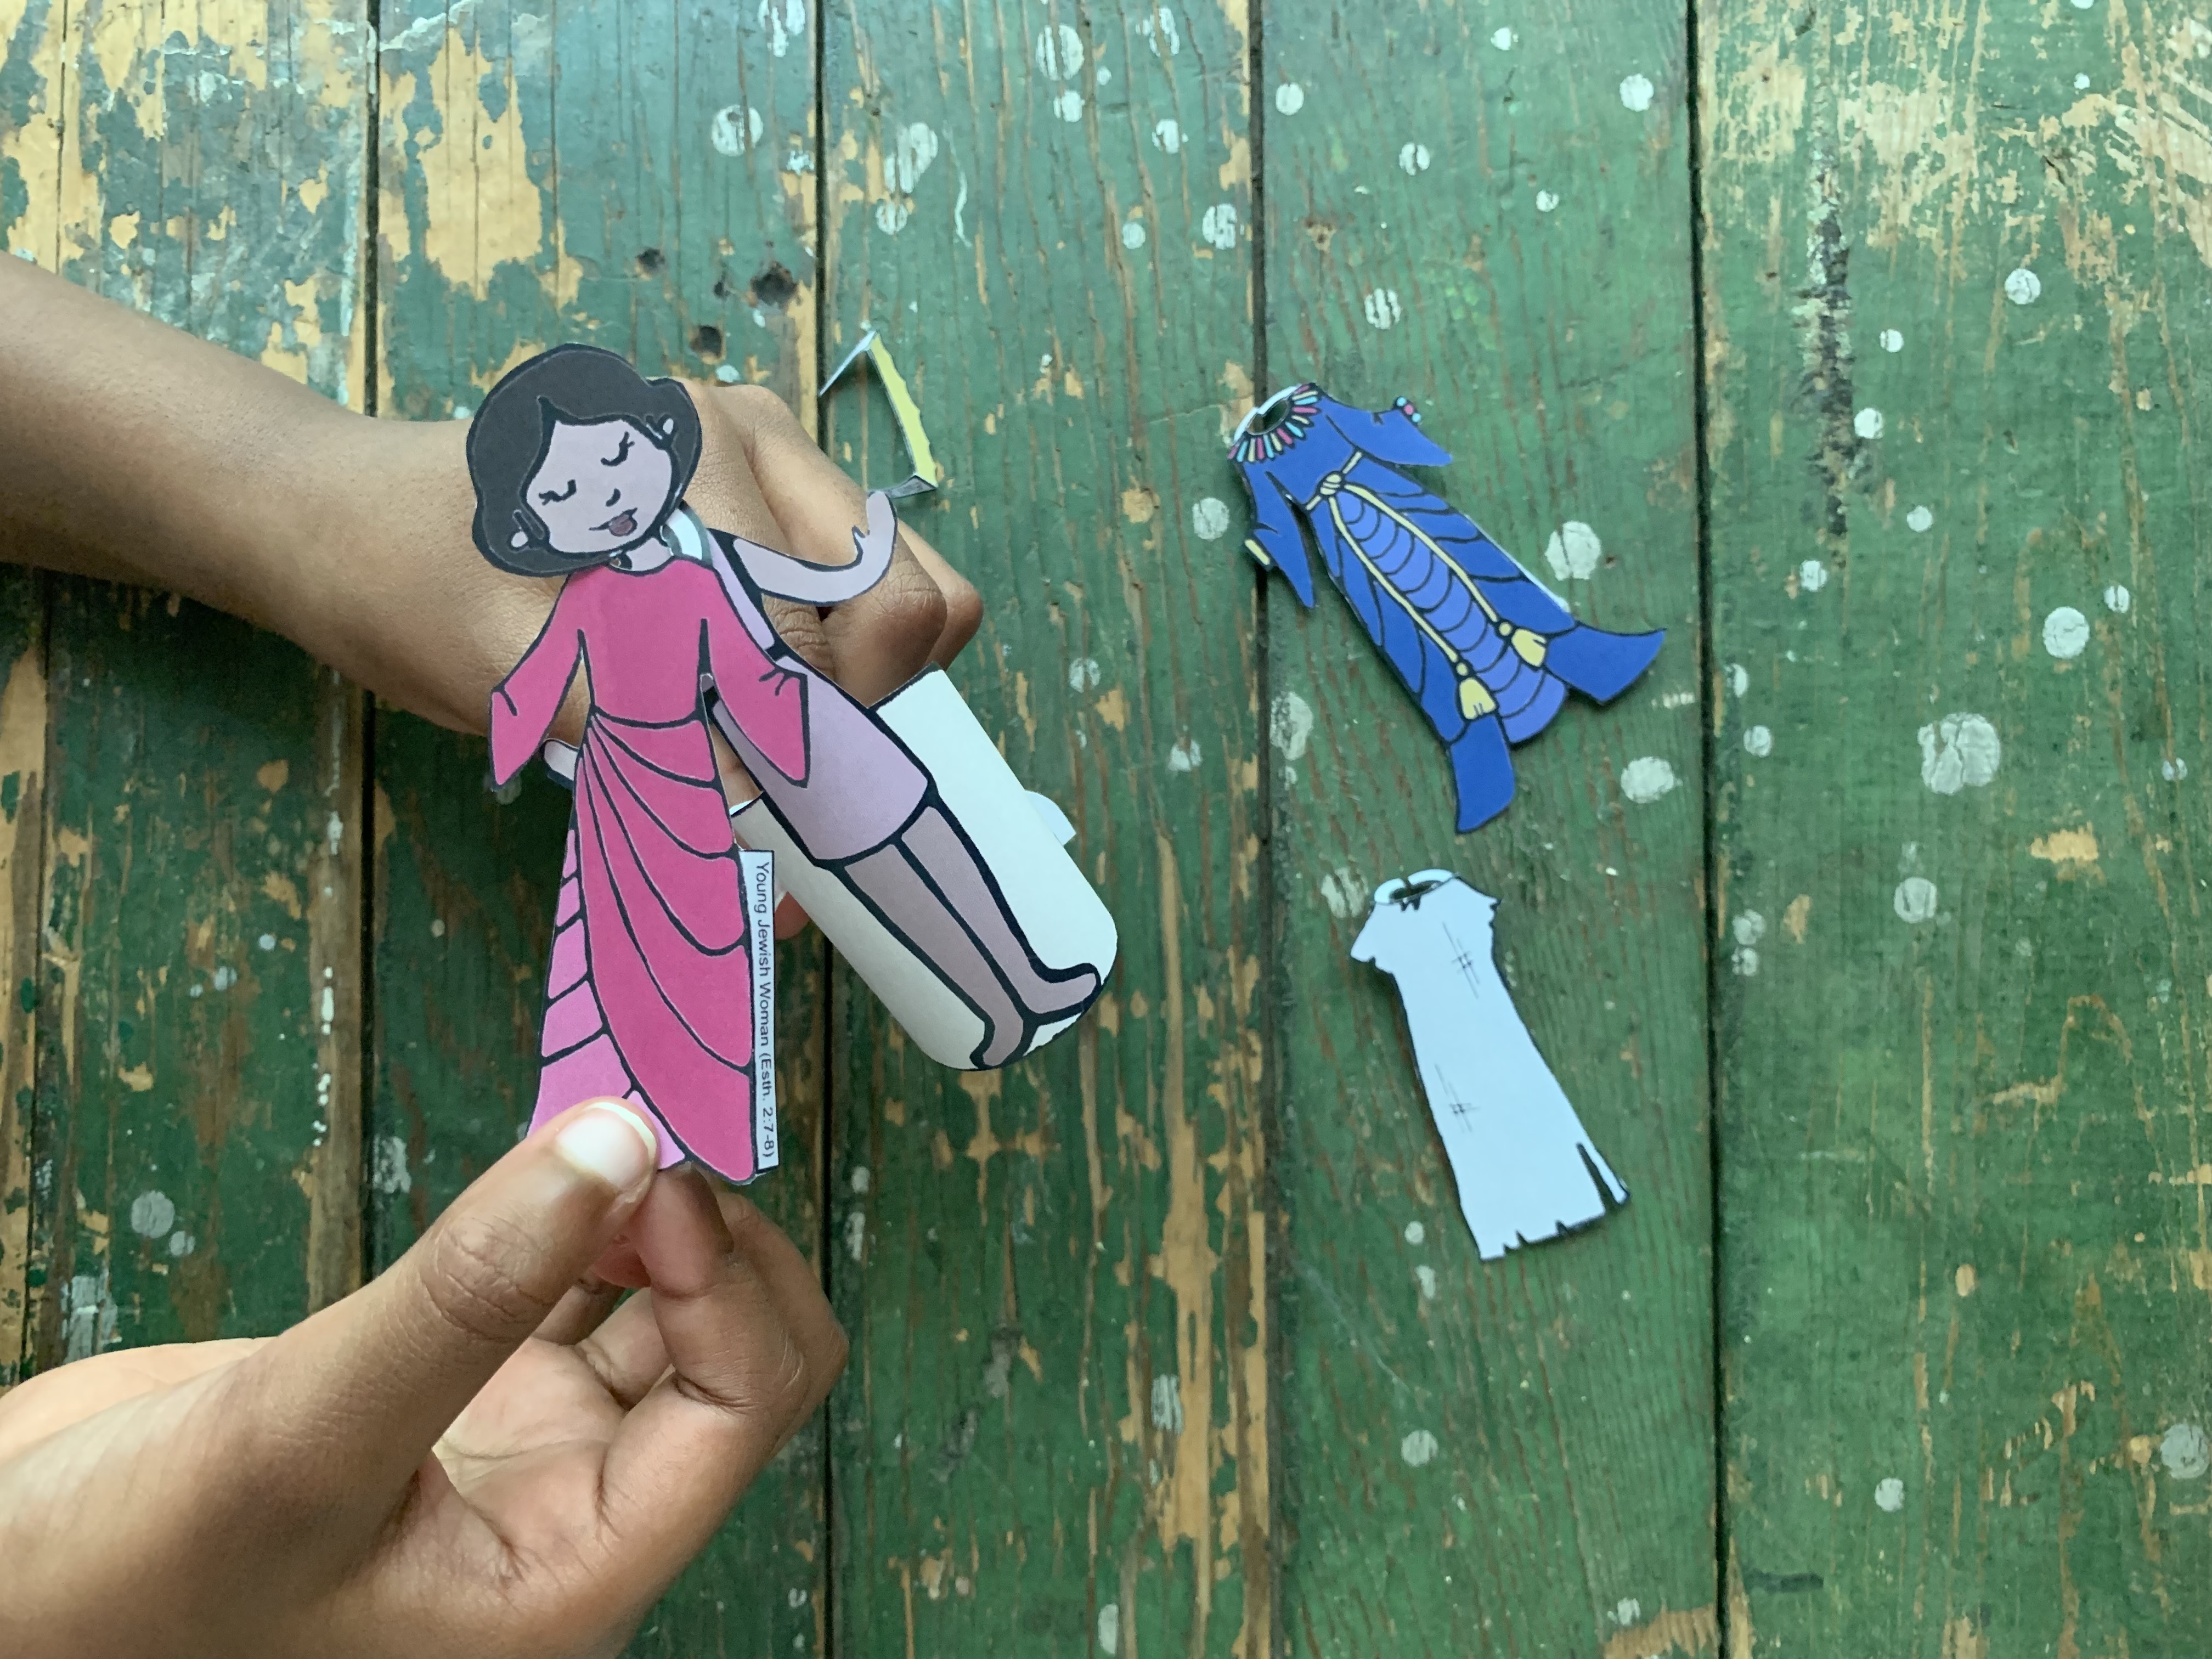
Fold the grey tags behind the paper clothing so they cannot be seen when the clothes are laying on the table. To dress your doll, simply insert Esther’s neck into the tags at the top of the dress. If necessary, fold tags down again so that dress hangs easily.
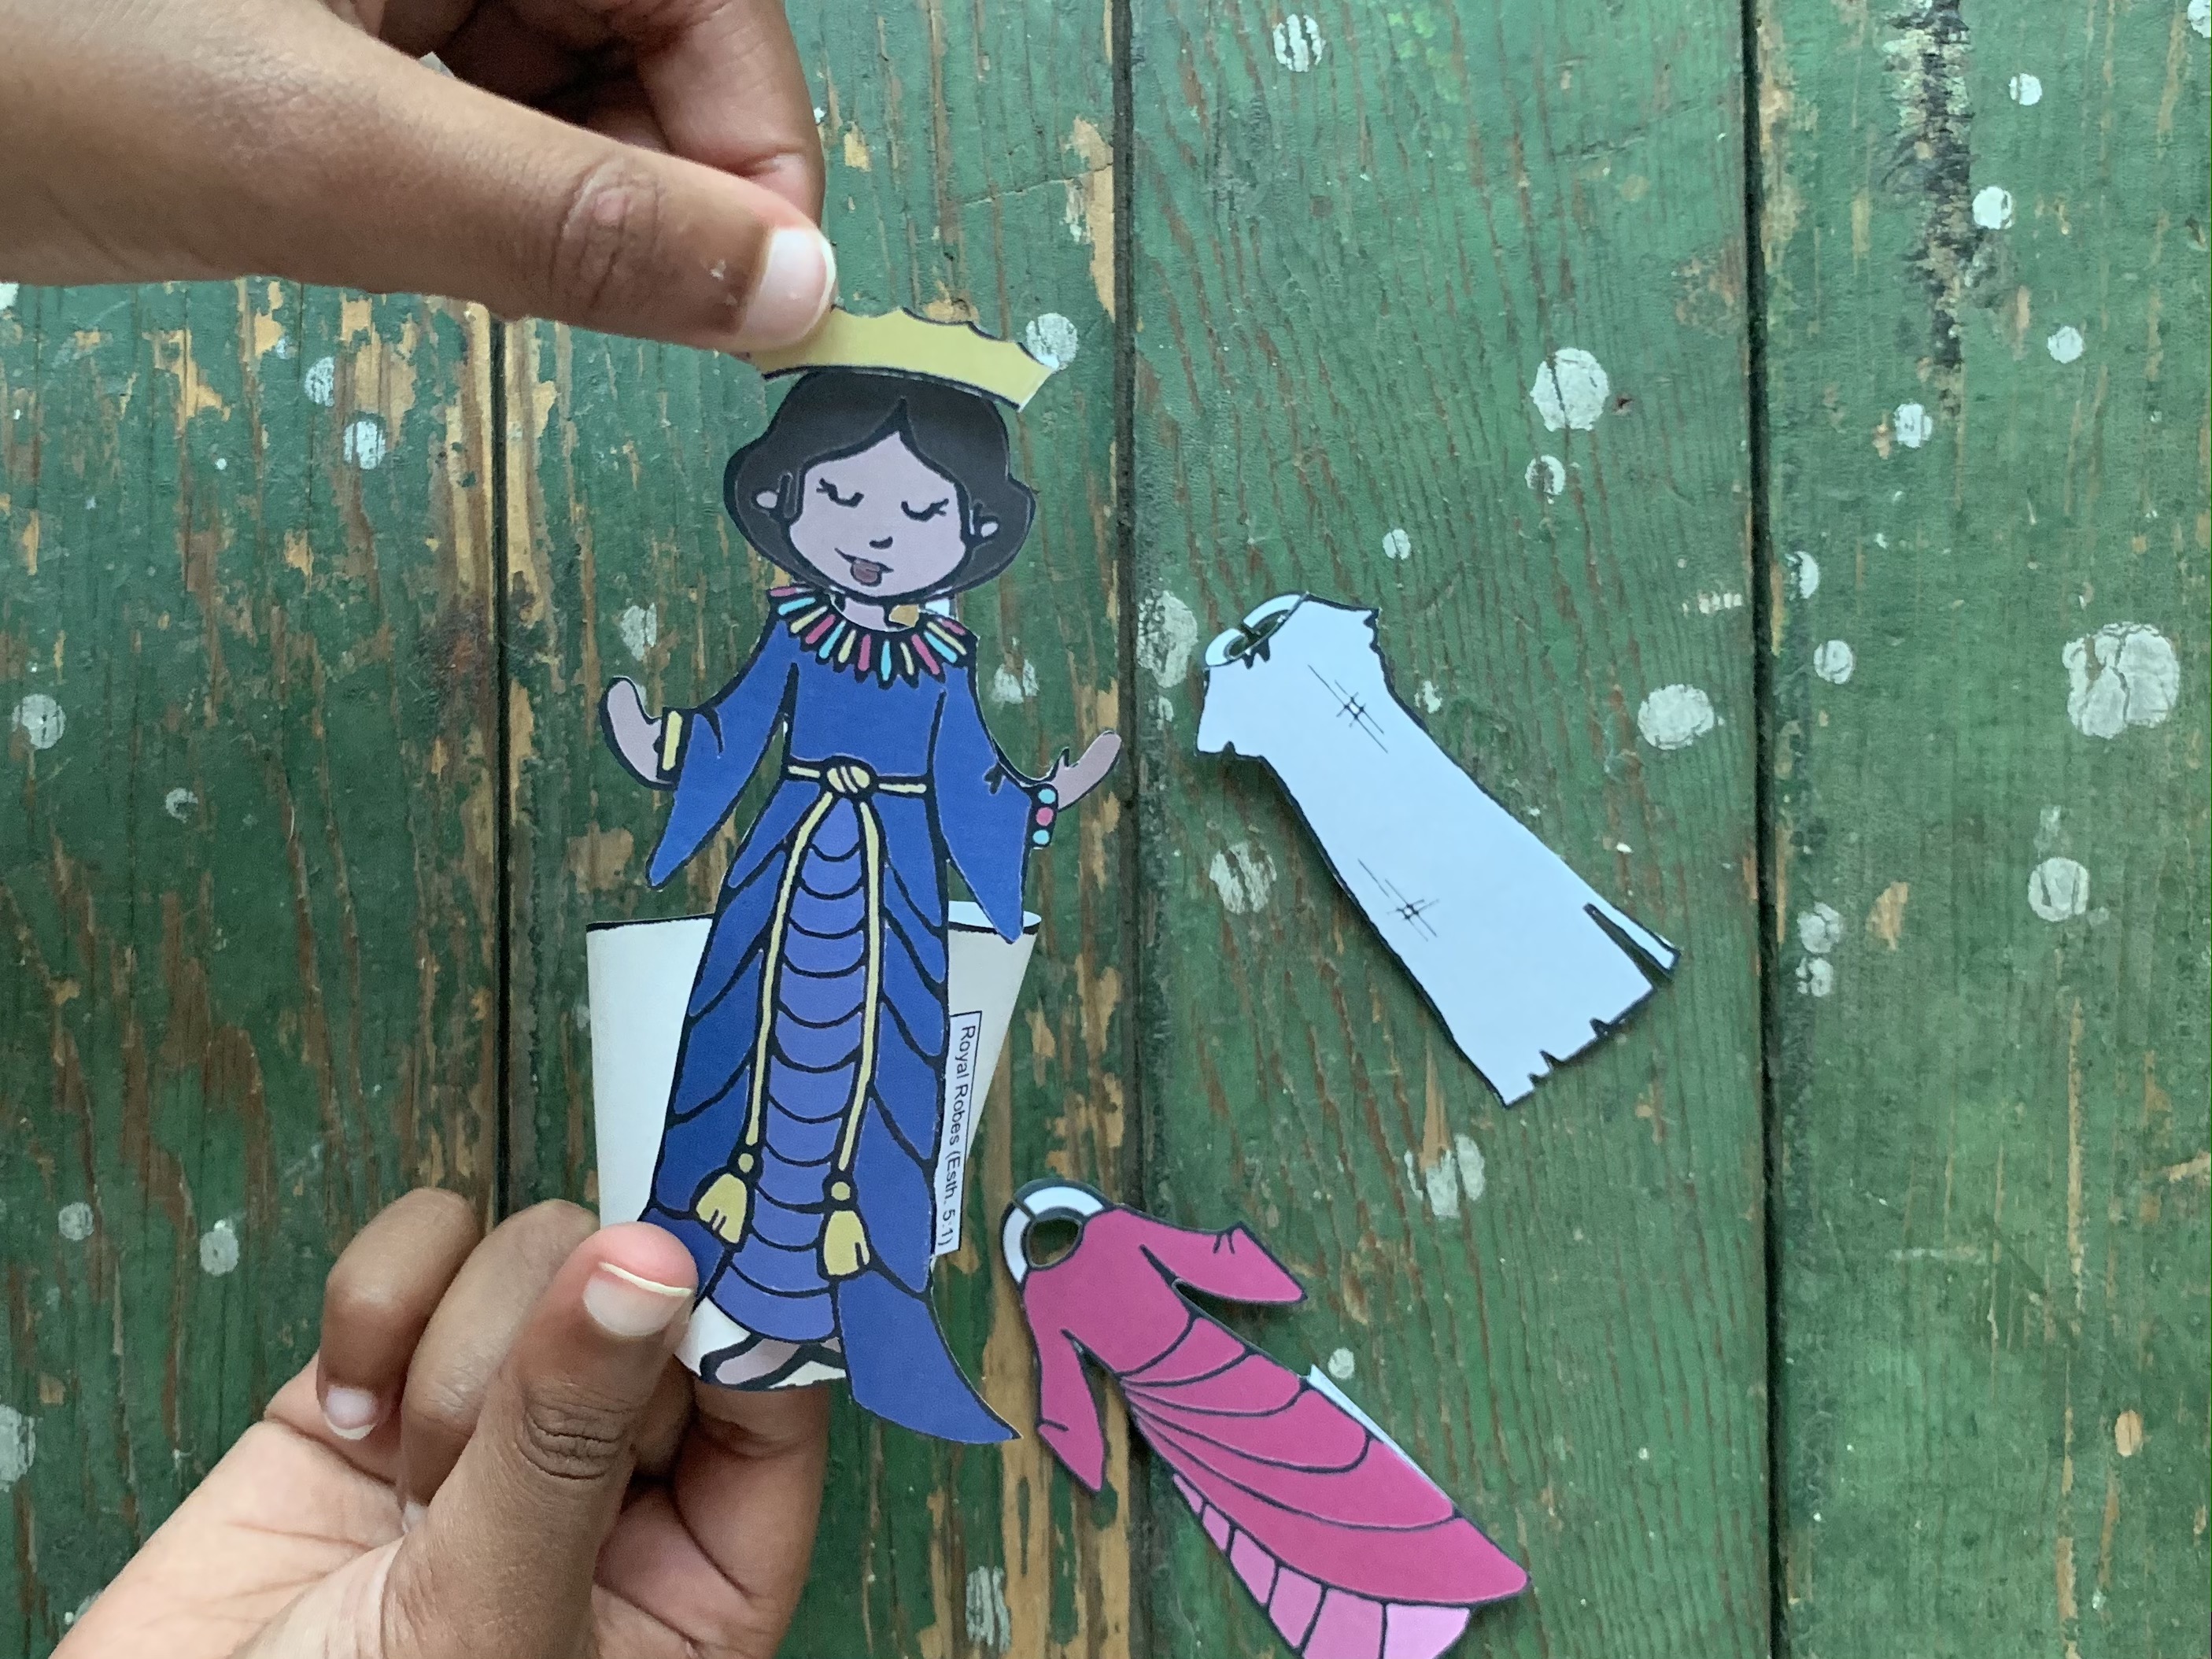
For the crown, simply fold the grey tags back and insert the top of Esther’s head in between tags and crown.
Step 4: Play
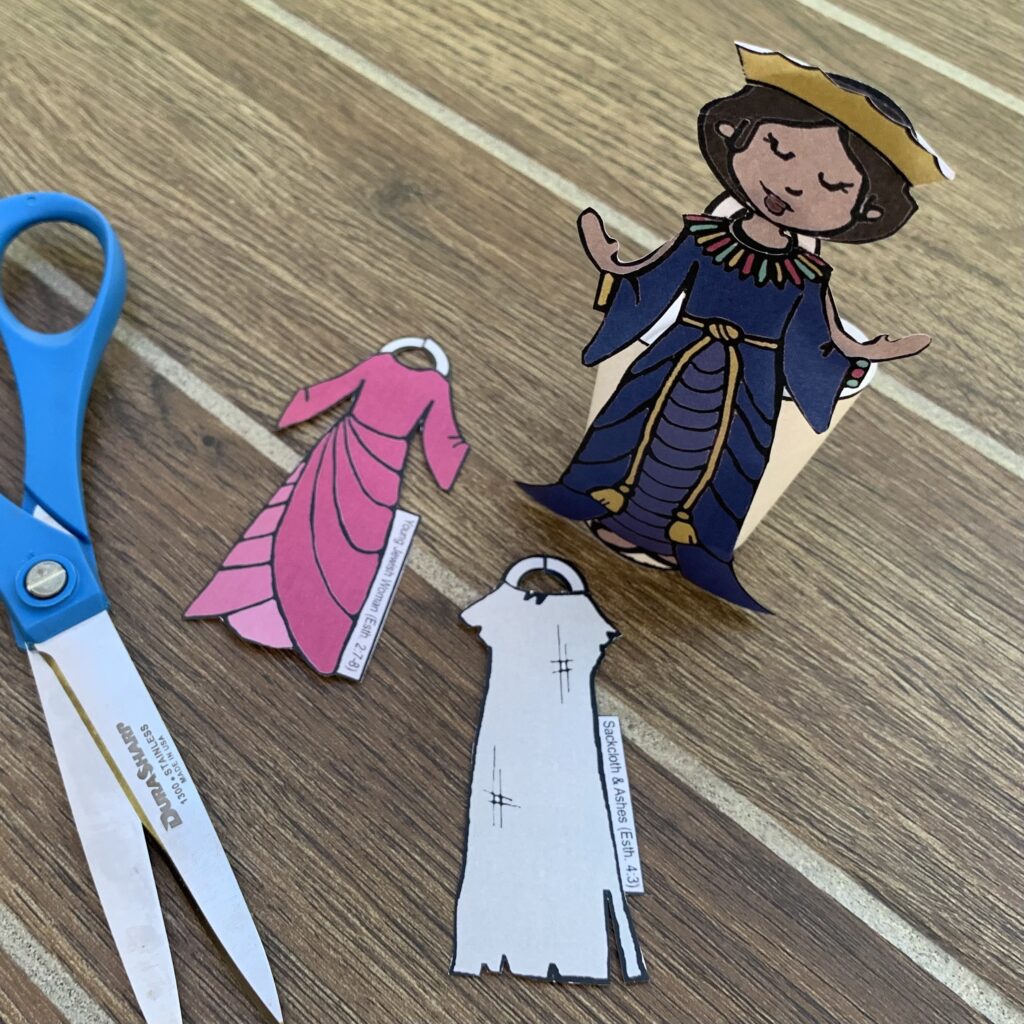
The Esther paper doll and be dressed and redressed again and again. The tags give biblical context to the articles of clothing.
That’s it! Enjoy!
Material and Age Modifications
Modify for different Ages and Abilites

(0-3) Cannot cut, color, & paste
For this age, this project may be best used as a visual for a bible class. Depending on the interest of your child, some children may enjoy playing, dressing, and redressing the doll. Consider some of the material modifications listed below.

(4-6) Learning to cut, color, & paste
This project works well with this age group. As mentioned above however, it is really tricky to cut and kids will probably need help from a grown-up. A lot of kids in this age group will enjoy decorating the dresses themselves, so consider printing in black and white.

(7-9) Cut, color, & paste well
As with other age groups, this project is tricky to cut out and may frustrate this age. Many will enjoy coloring the dresses but you may see less “playing” after the project is finished.

(10-12) Cut, Color, & Paste Precisely
This age should be able to cut this project. They may also enjoy coloring the dresses.
Modify with different crafting materials
Third Culture Crafts is all about making the process easy! If you don’t have something on-hand, here are a few simple modacations that can be made to the supply list.

1. Print
For younger kids or when using as a visual – consider printing on card stock or laminating the entire printed page before cutting out the doll and clothes. This will strengthen the paper and give a longer life to your doll.

2. Cut
If you don’t have scissors on hand or you are struggling with the tight corners – consider cutting the doll and clothes out with an X-Acto knife. While the cutting is time consuming for sure, this paper doll is a craft that kids play with and save for a long time.

3. Assemble
As stated above, no adhesive is needed for this project. However, if you child is struggling with dressing and redressing the doll, consider using velcro tape on the doll and clothes that make the process easier. This process would be especially effective is the doll and clothes were laminated and may make an easier too for younger children. For this method, you can also cut the top grey tags off the clothing.

4. Play
I have found this project works best at home simply because play with this paper doll comes so organically for children. Consider reading the account from the bible with the doll and have your child redress the doll while following along with the story.

