The account for this project is found in Judges 4-5
Deborah was the 4th judge of Israel – the only woman judge mentioned in the bible. Deborah judged Israel under a palm tree and gave Barack courage when going into battle against the Canaanites.
Other biblical connections:
Consider talking about our ability to encourage others and the roles we play when helping our brothers and sister in Christ do what is right. Barak was mentioned in Hebrews 11:32-38 as a man of faith – but we see him in Judges unwilling to go into battle without Deborah. Discuss how Deborah helped Barack when was afraid. Discuss how we can encourage others when they are afraid to do what is right and what it means to “carry each others’ burdens,” (Gal. 6:2).
As with every Third Culture Crafts – all you need is a printer, scissors, and a way to stick it all together. This project can also be adapted for many different ages and is a great craft when teaching various ages or learning levels together in one class. When assembling Deborah’s tree, I prefer to use a scotch tape, but there are other options explained in the modification section below.
Step 1: Download & Print
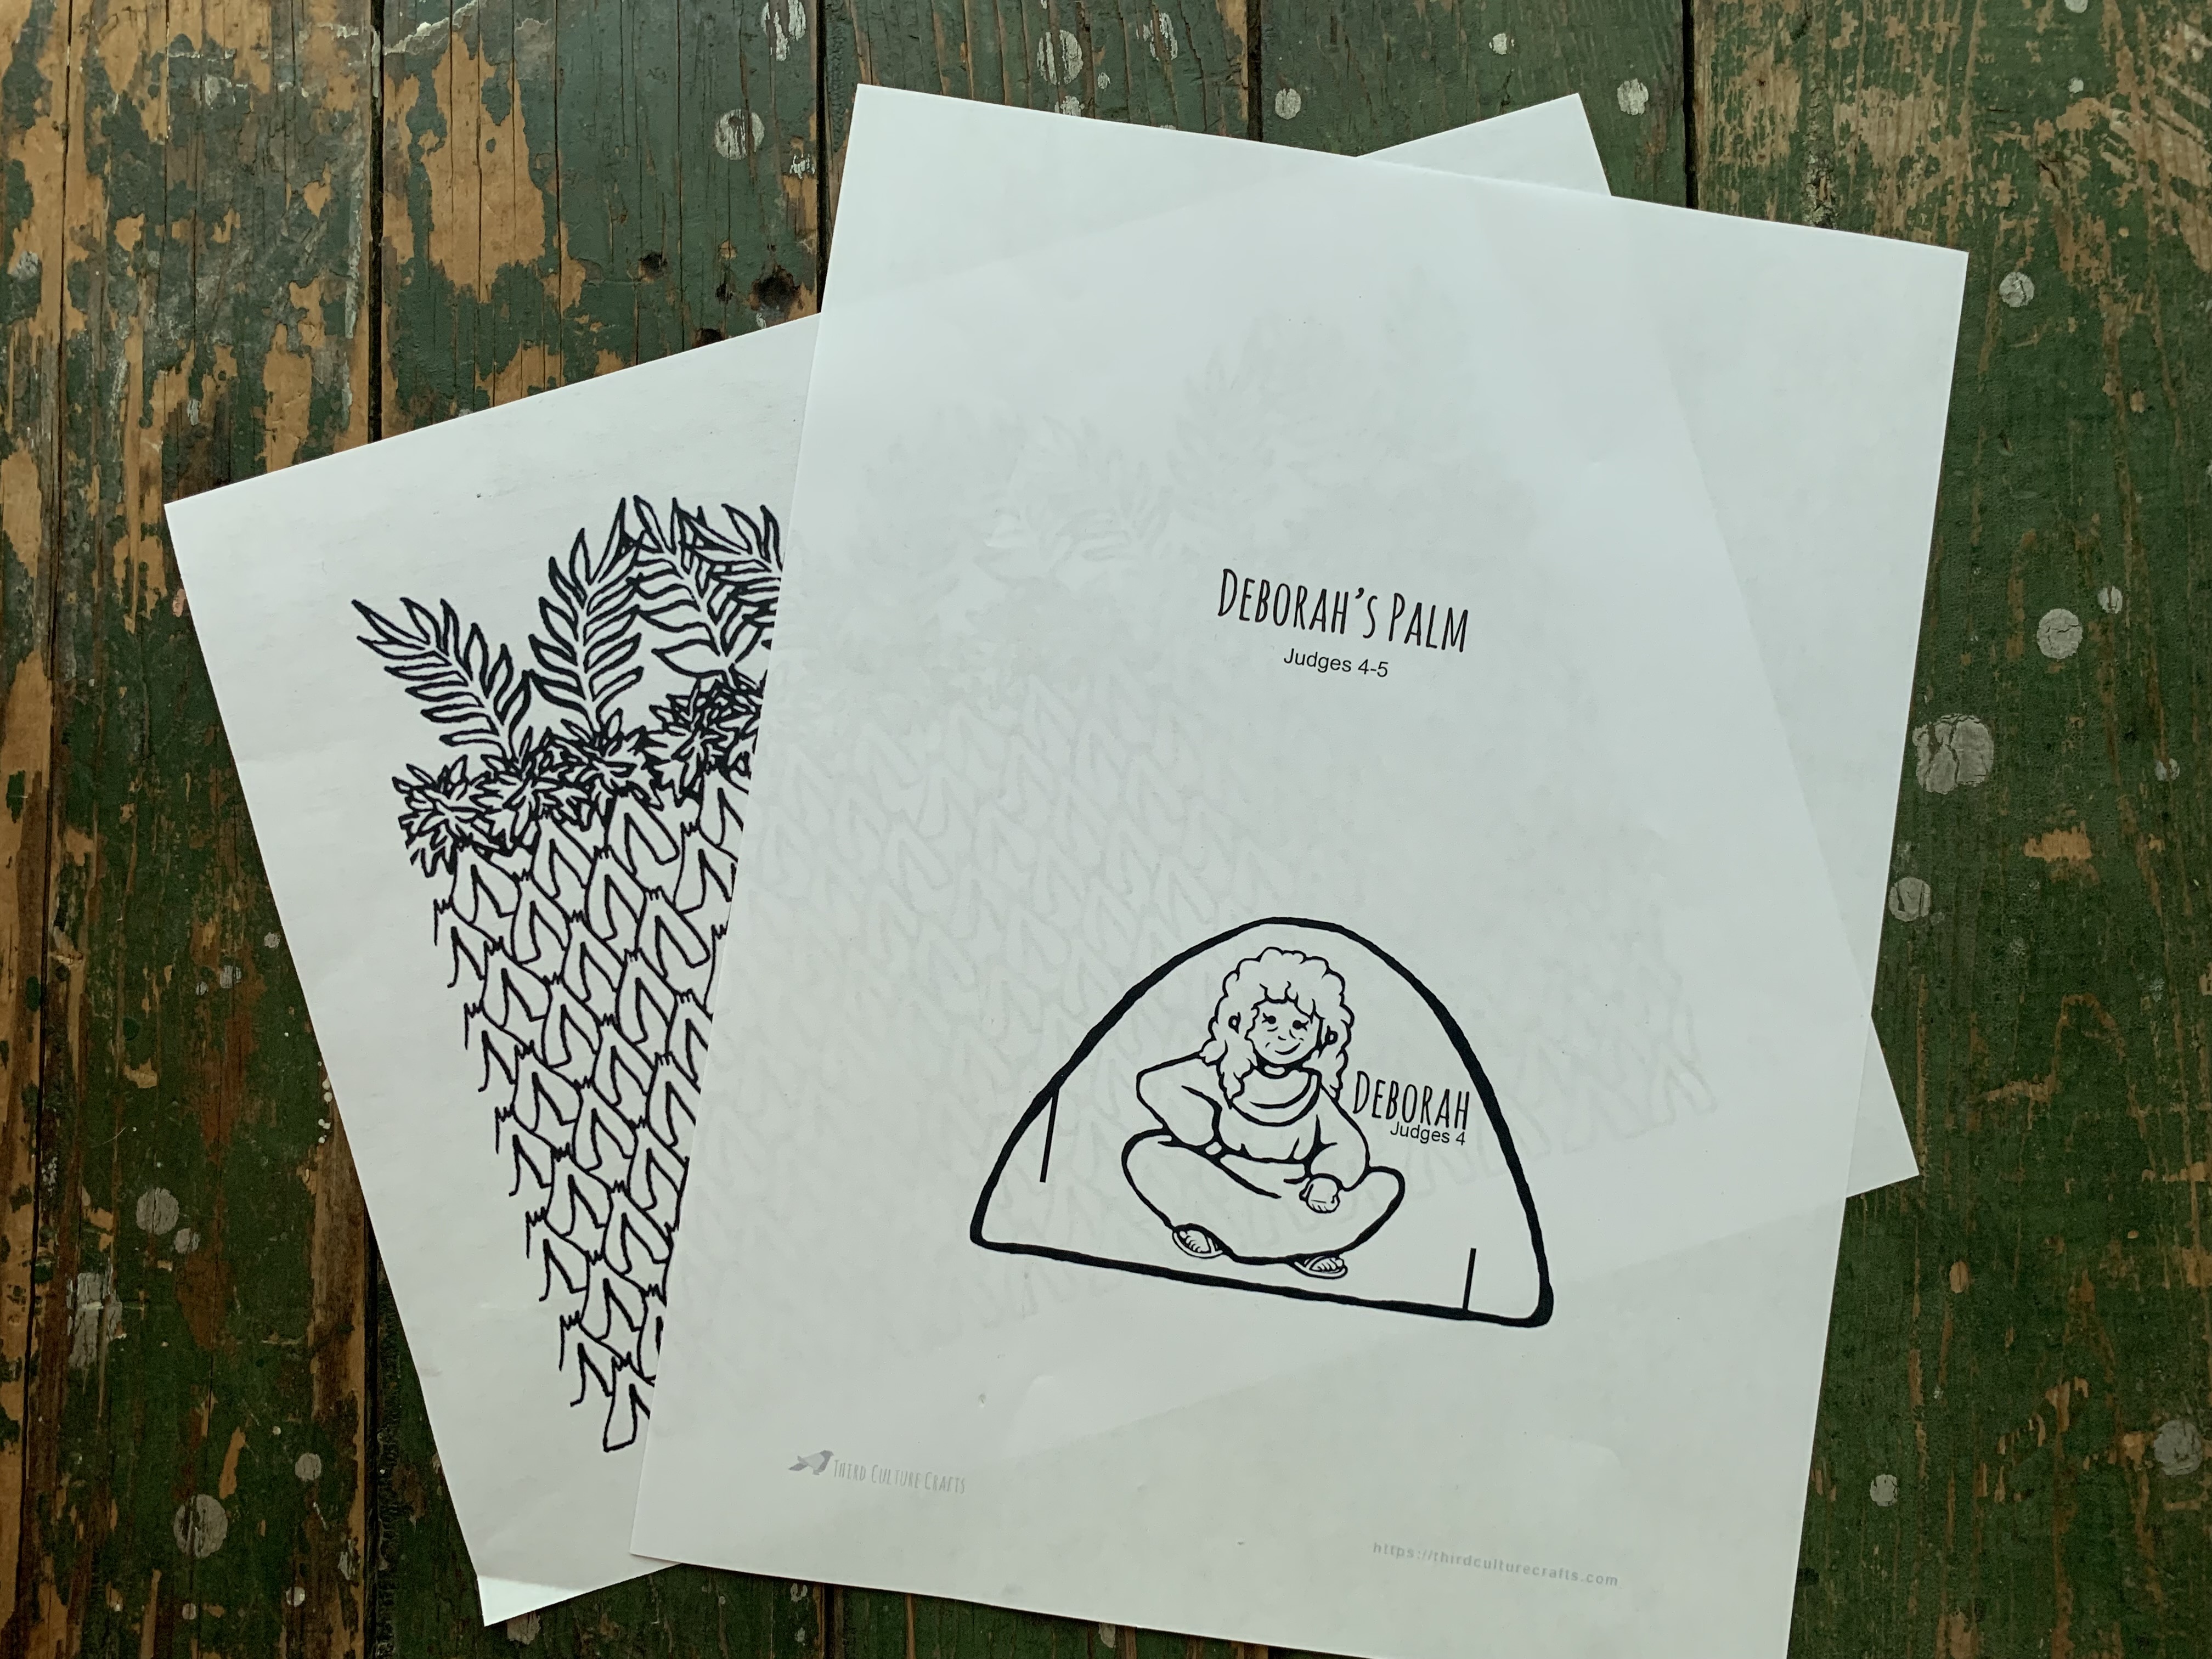
Print in black and white:
This is not a hard craft to color. The tree page looks intimidating, however – because of the nature of the craft – kids can scribble colors on and still have a successful outcome.
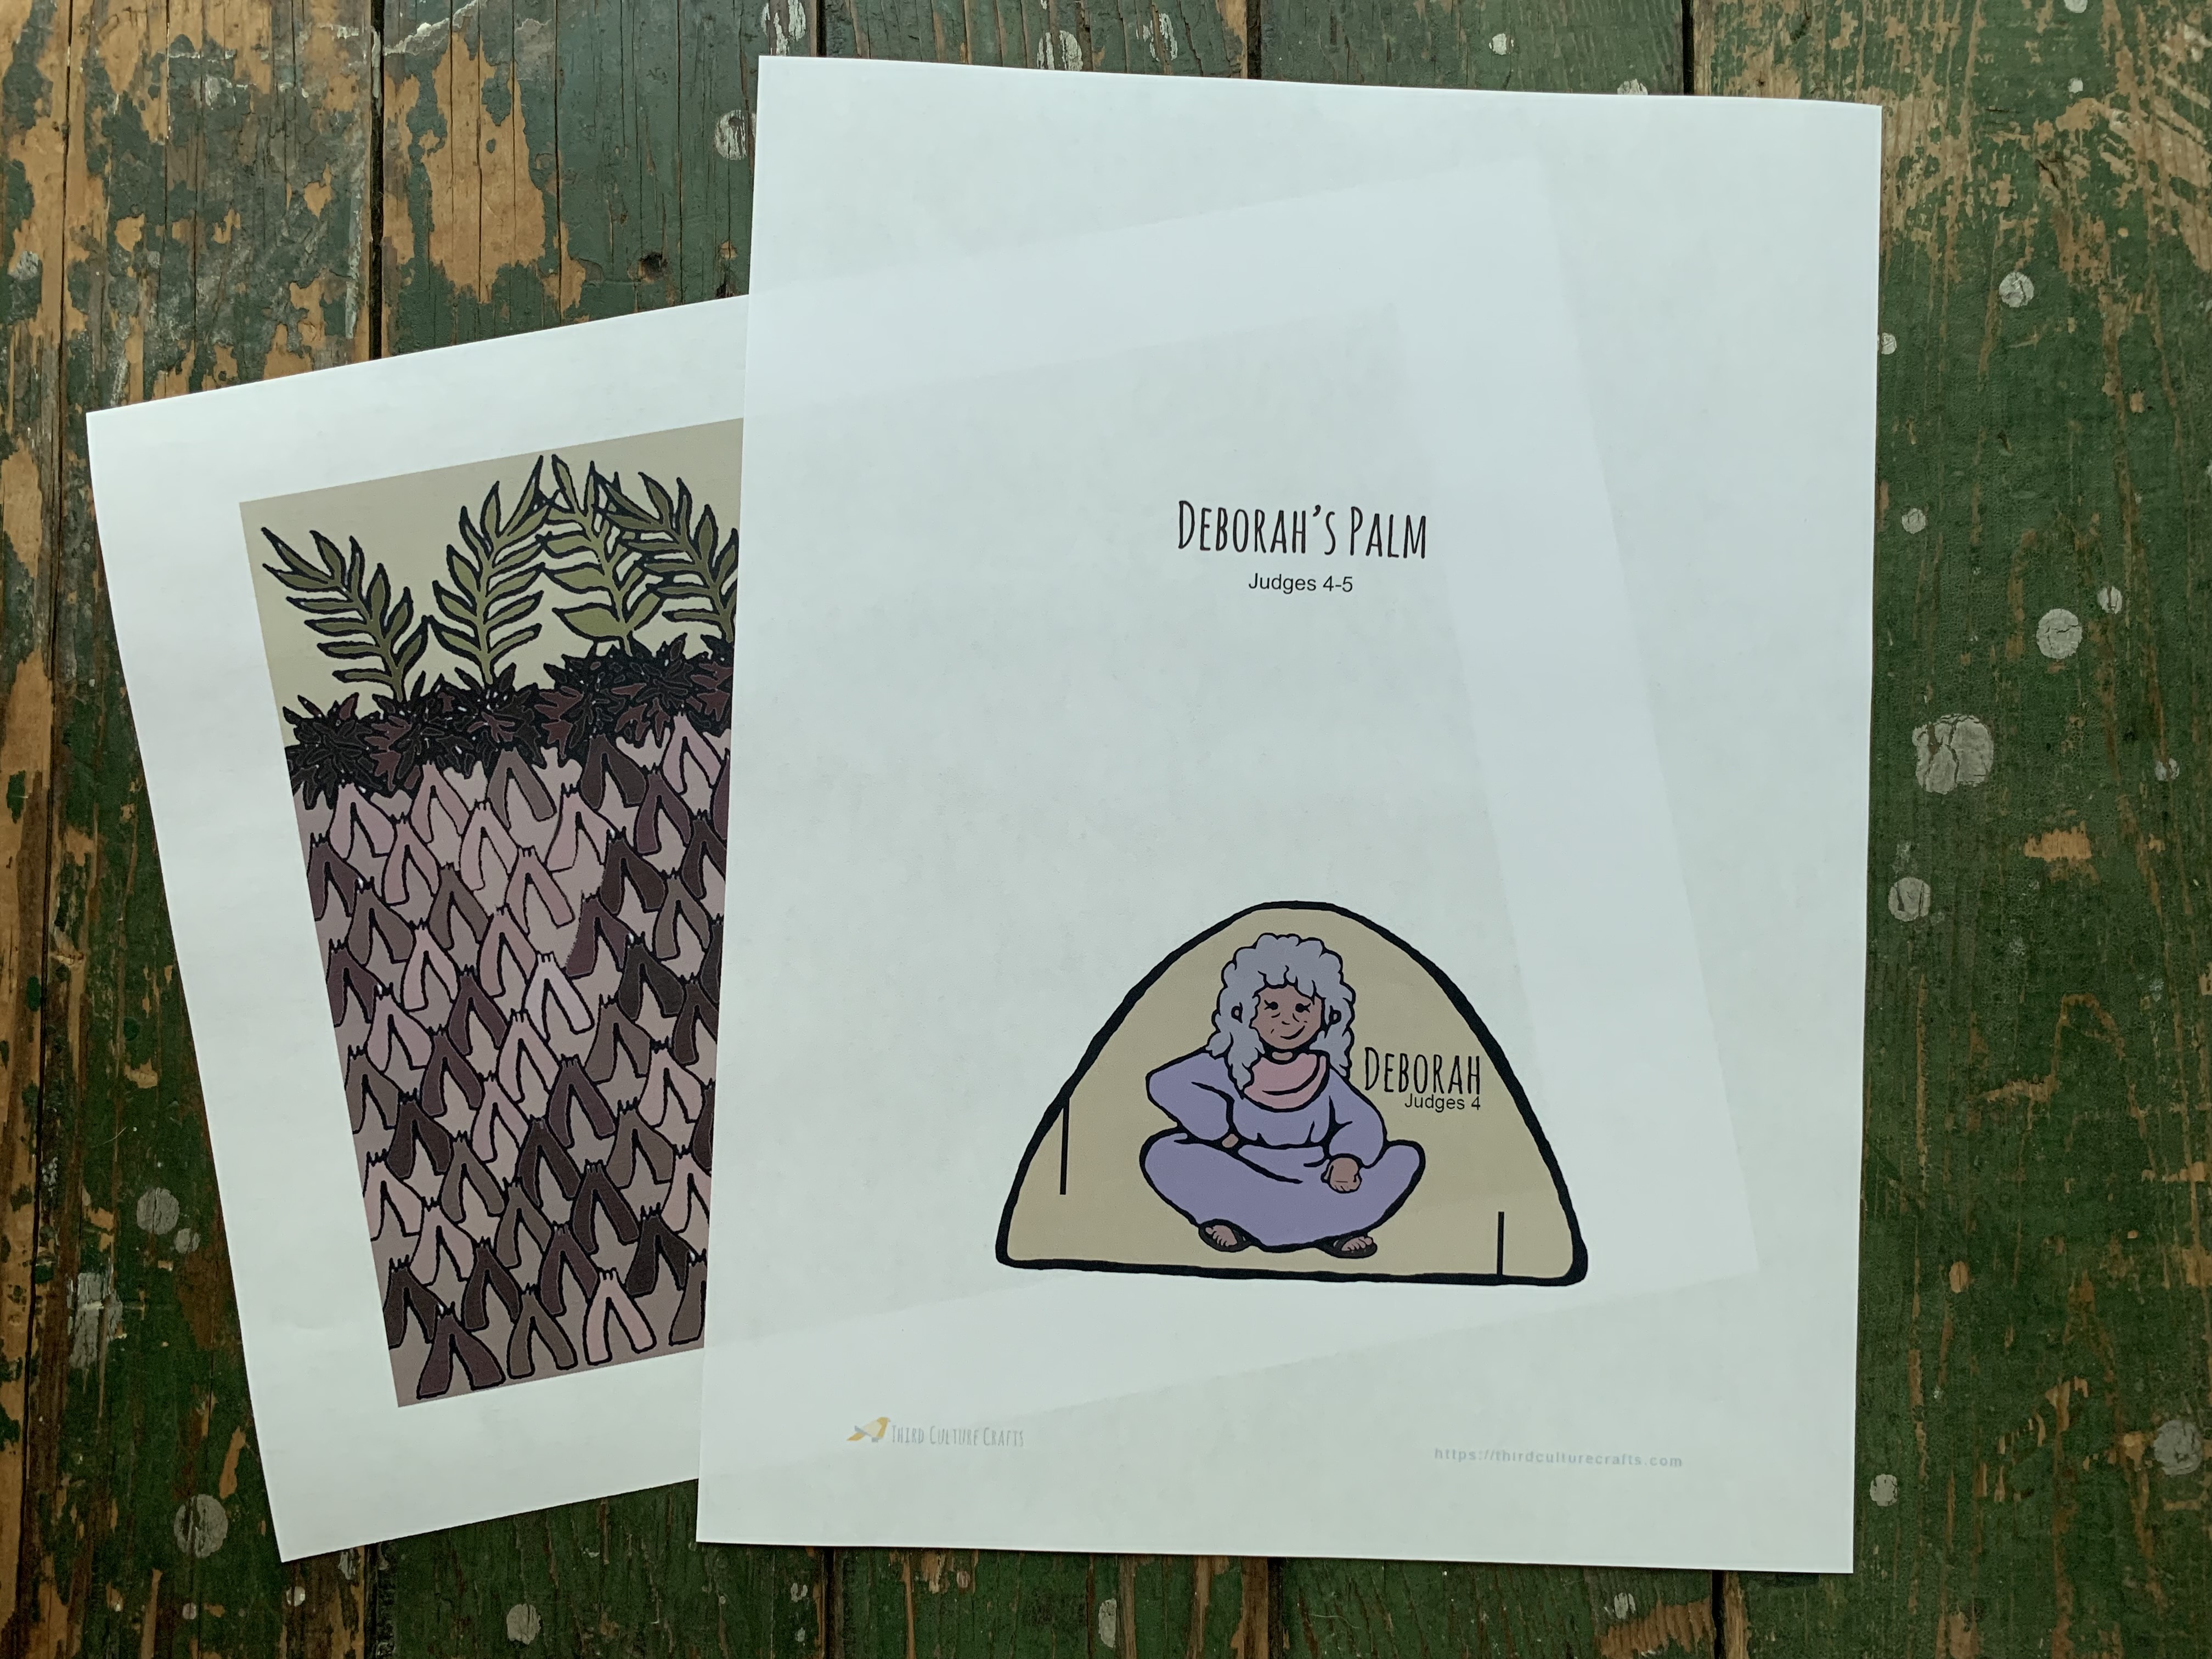
Print in color:
This is a better option for younger kids, the craft non-enthusiast, or to simply make the project go much faster.
Step 2: Cut
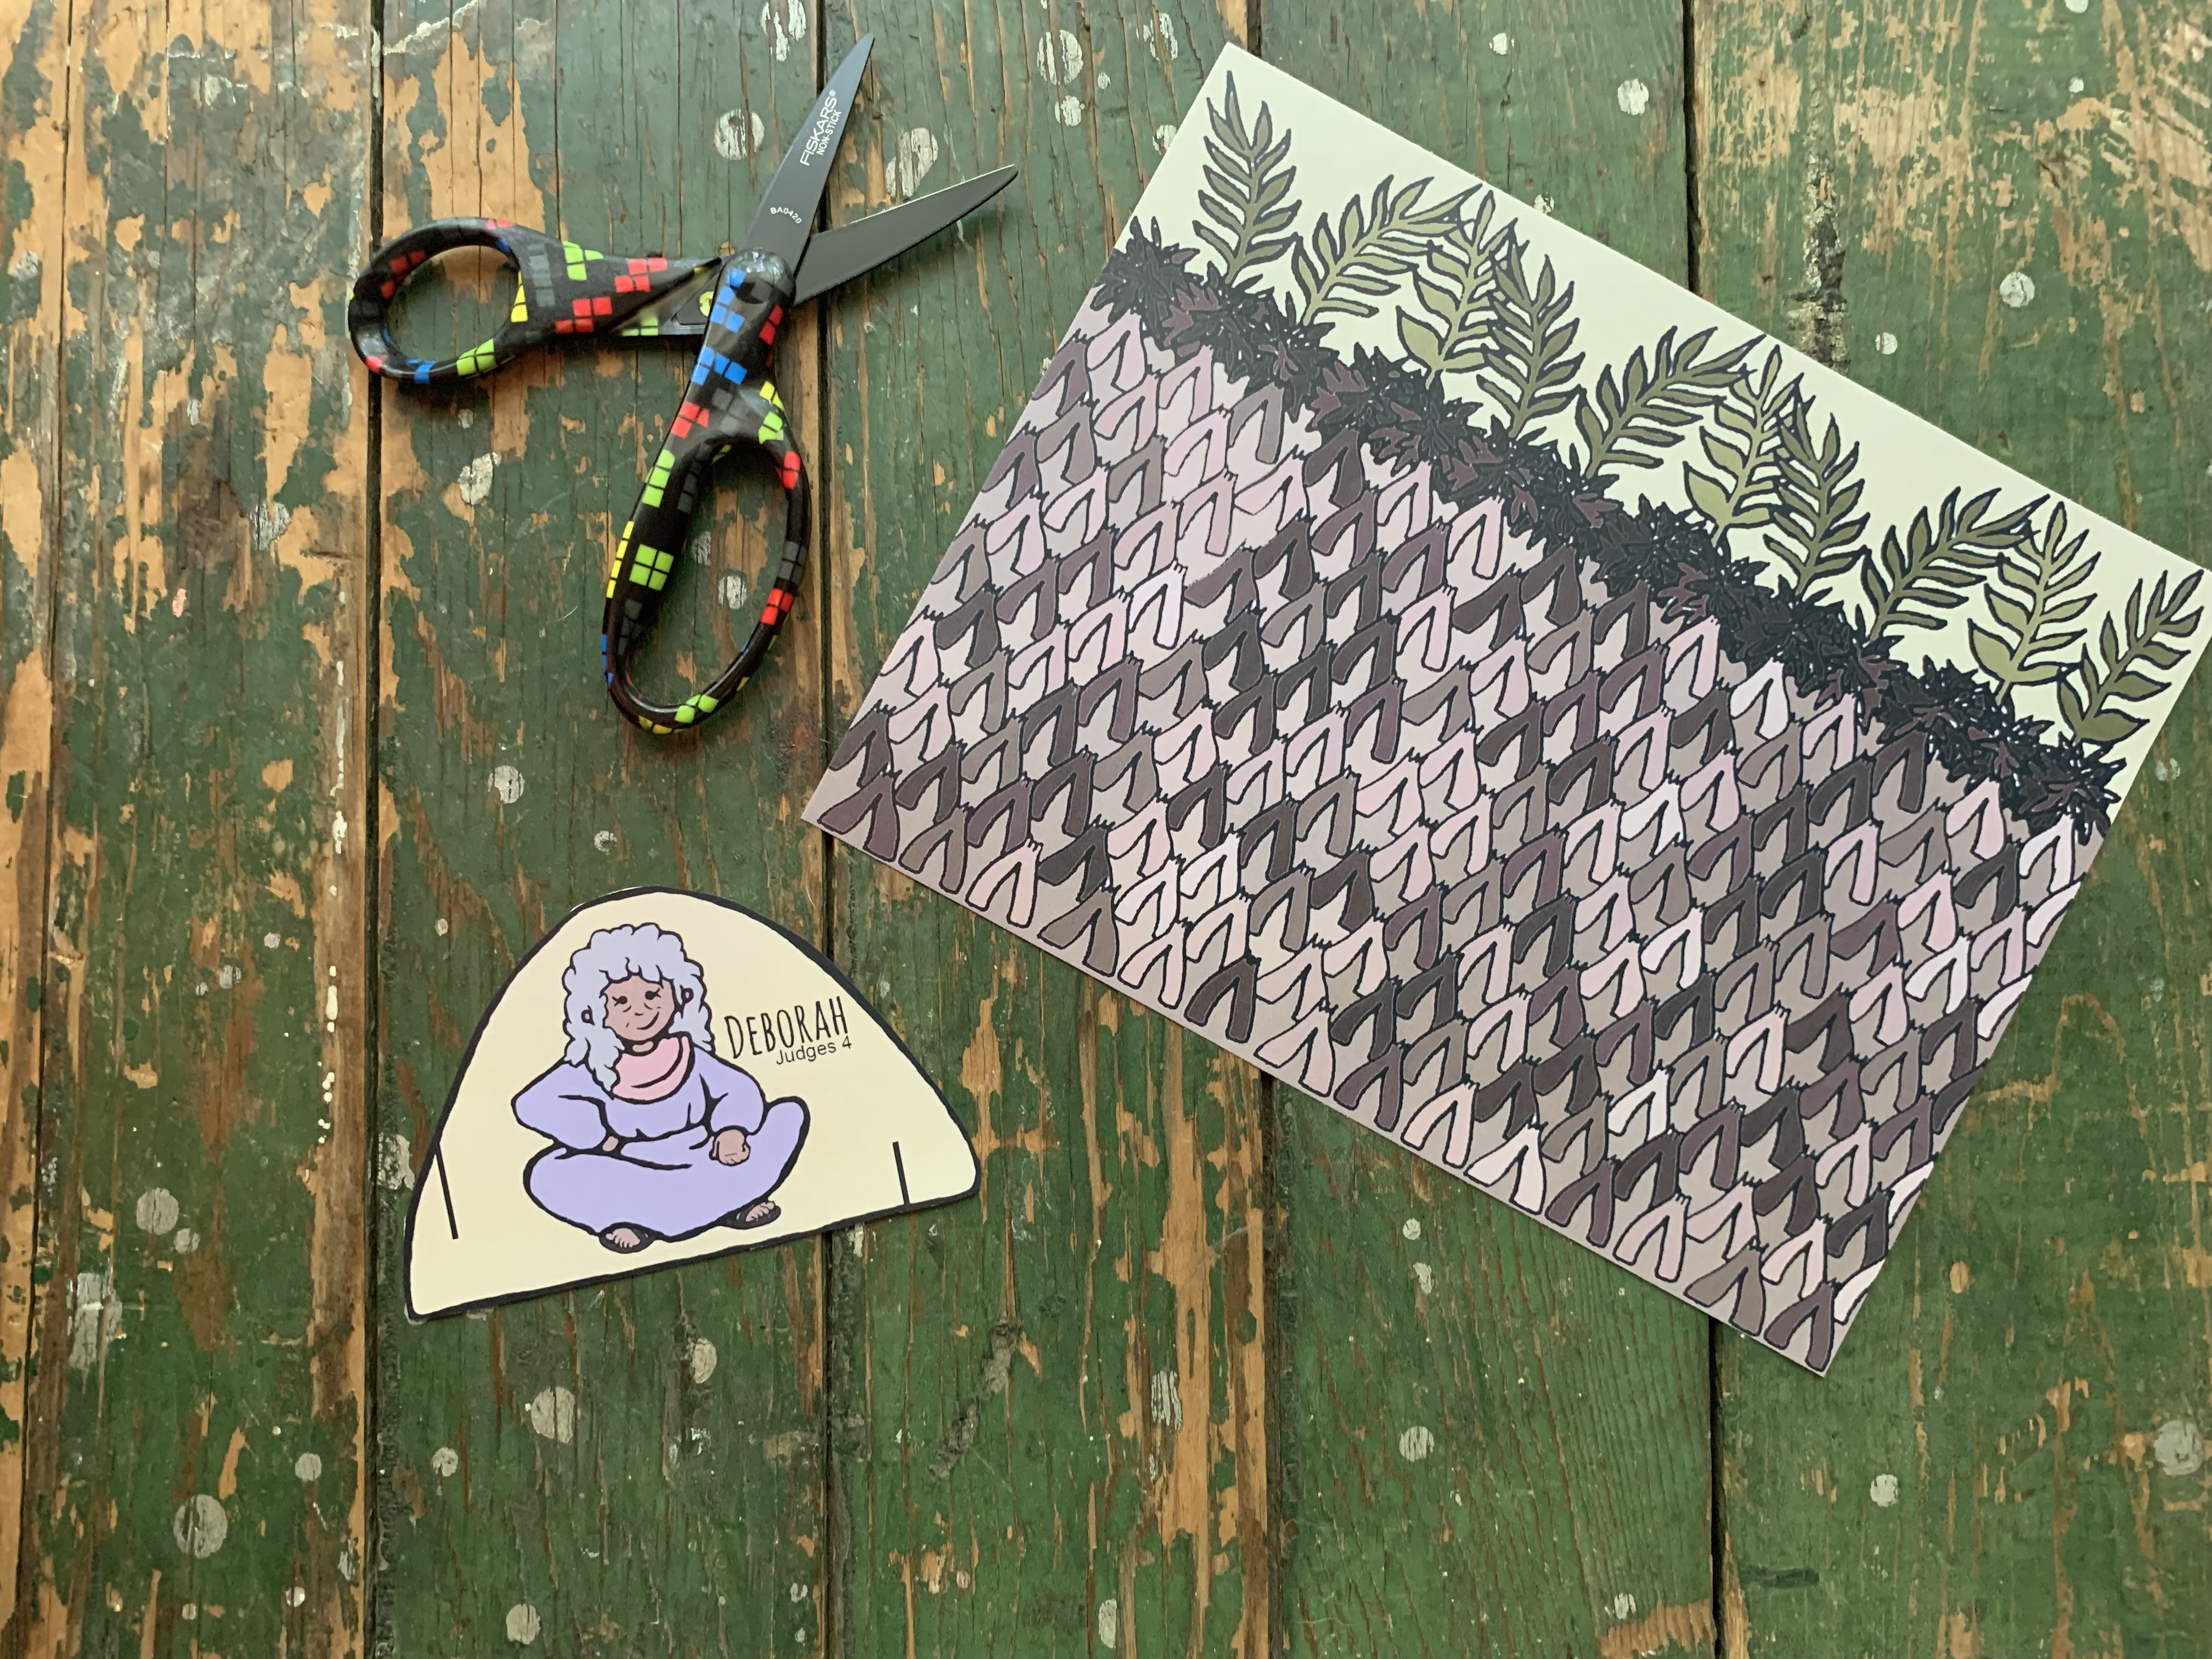
This project is two pages. Trim white margins off the tree page. Cut along the thick dark line around Deborah. Cut the small lines on either side of her as well being careful not to cut all the way across.
Step 3: Assemble

Roll the tree page into a semi-tight cylinder. About 1/3 of the way up from the bottom of the tree (brown side), tape the open edge closed so that cylinder stays rolled.

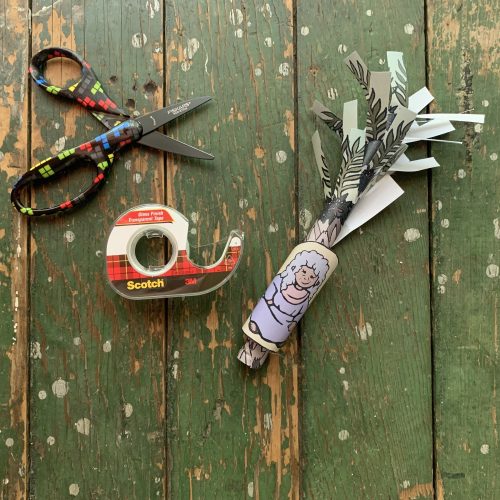
Use a pair of scissors to cut leaf side into strips. Stick one side of the scissors in the green side of cylinder and cut a straight line down toward the brown end of the tree (about 1/4 of the way into the tree). Turn the cylinder 90 degrees and repeat the cutting process. Continue to turn the “tree” and cut “leaves” until you have at 4-5 cuts in the green section of the tree. The end result should resemble a paper tassel. Keep in mind that this will be a free-form cut and you will inevitably cut the drawn leaves in half. No big deal! It adds to the organic nature of this craft.
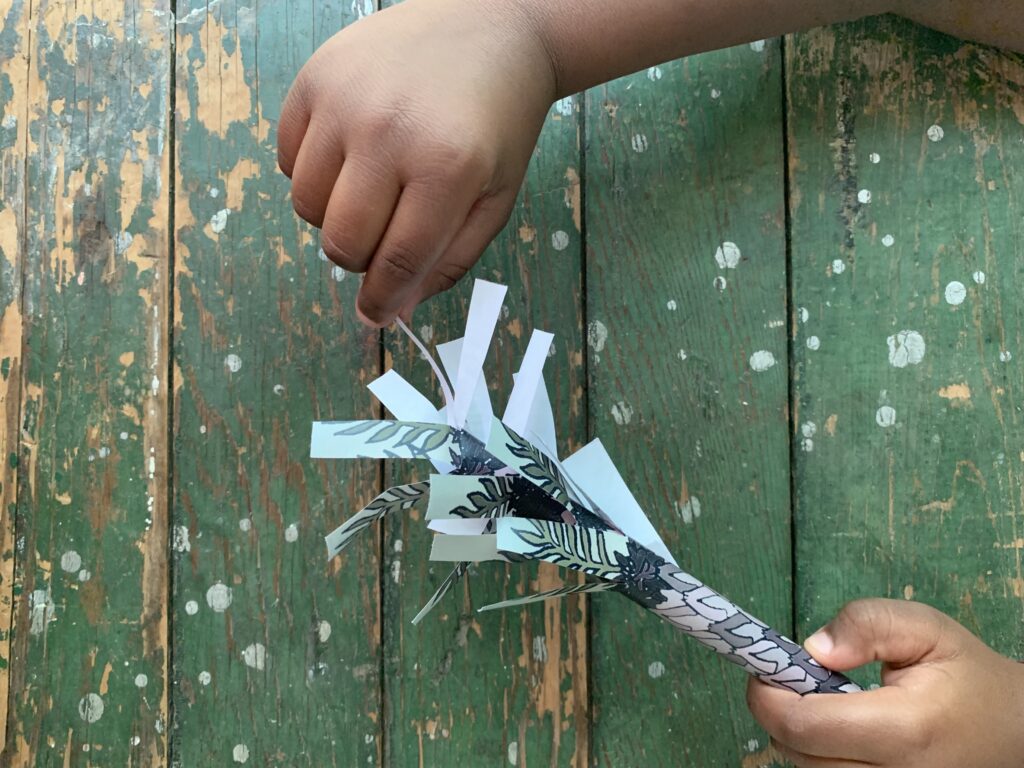
Next, grab a strip of paper from the middle of the cylinder and very carefully begin to pull upward. As you pull, the “tree” should “grow” and the leaves will spread to extend into a palm. If you end up tearing a few leaves off the tree in the process, it is not a big deal at all and will not change the overall look of the finished product.
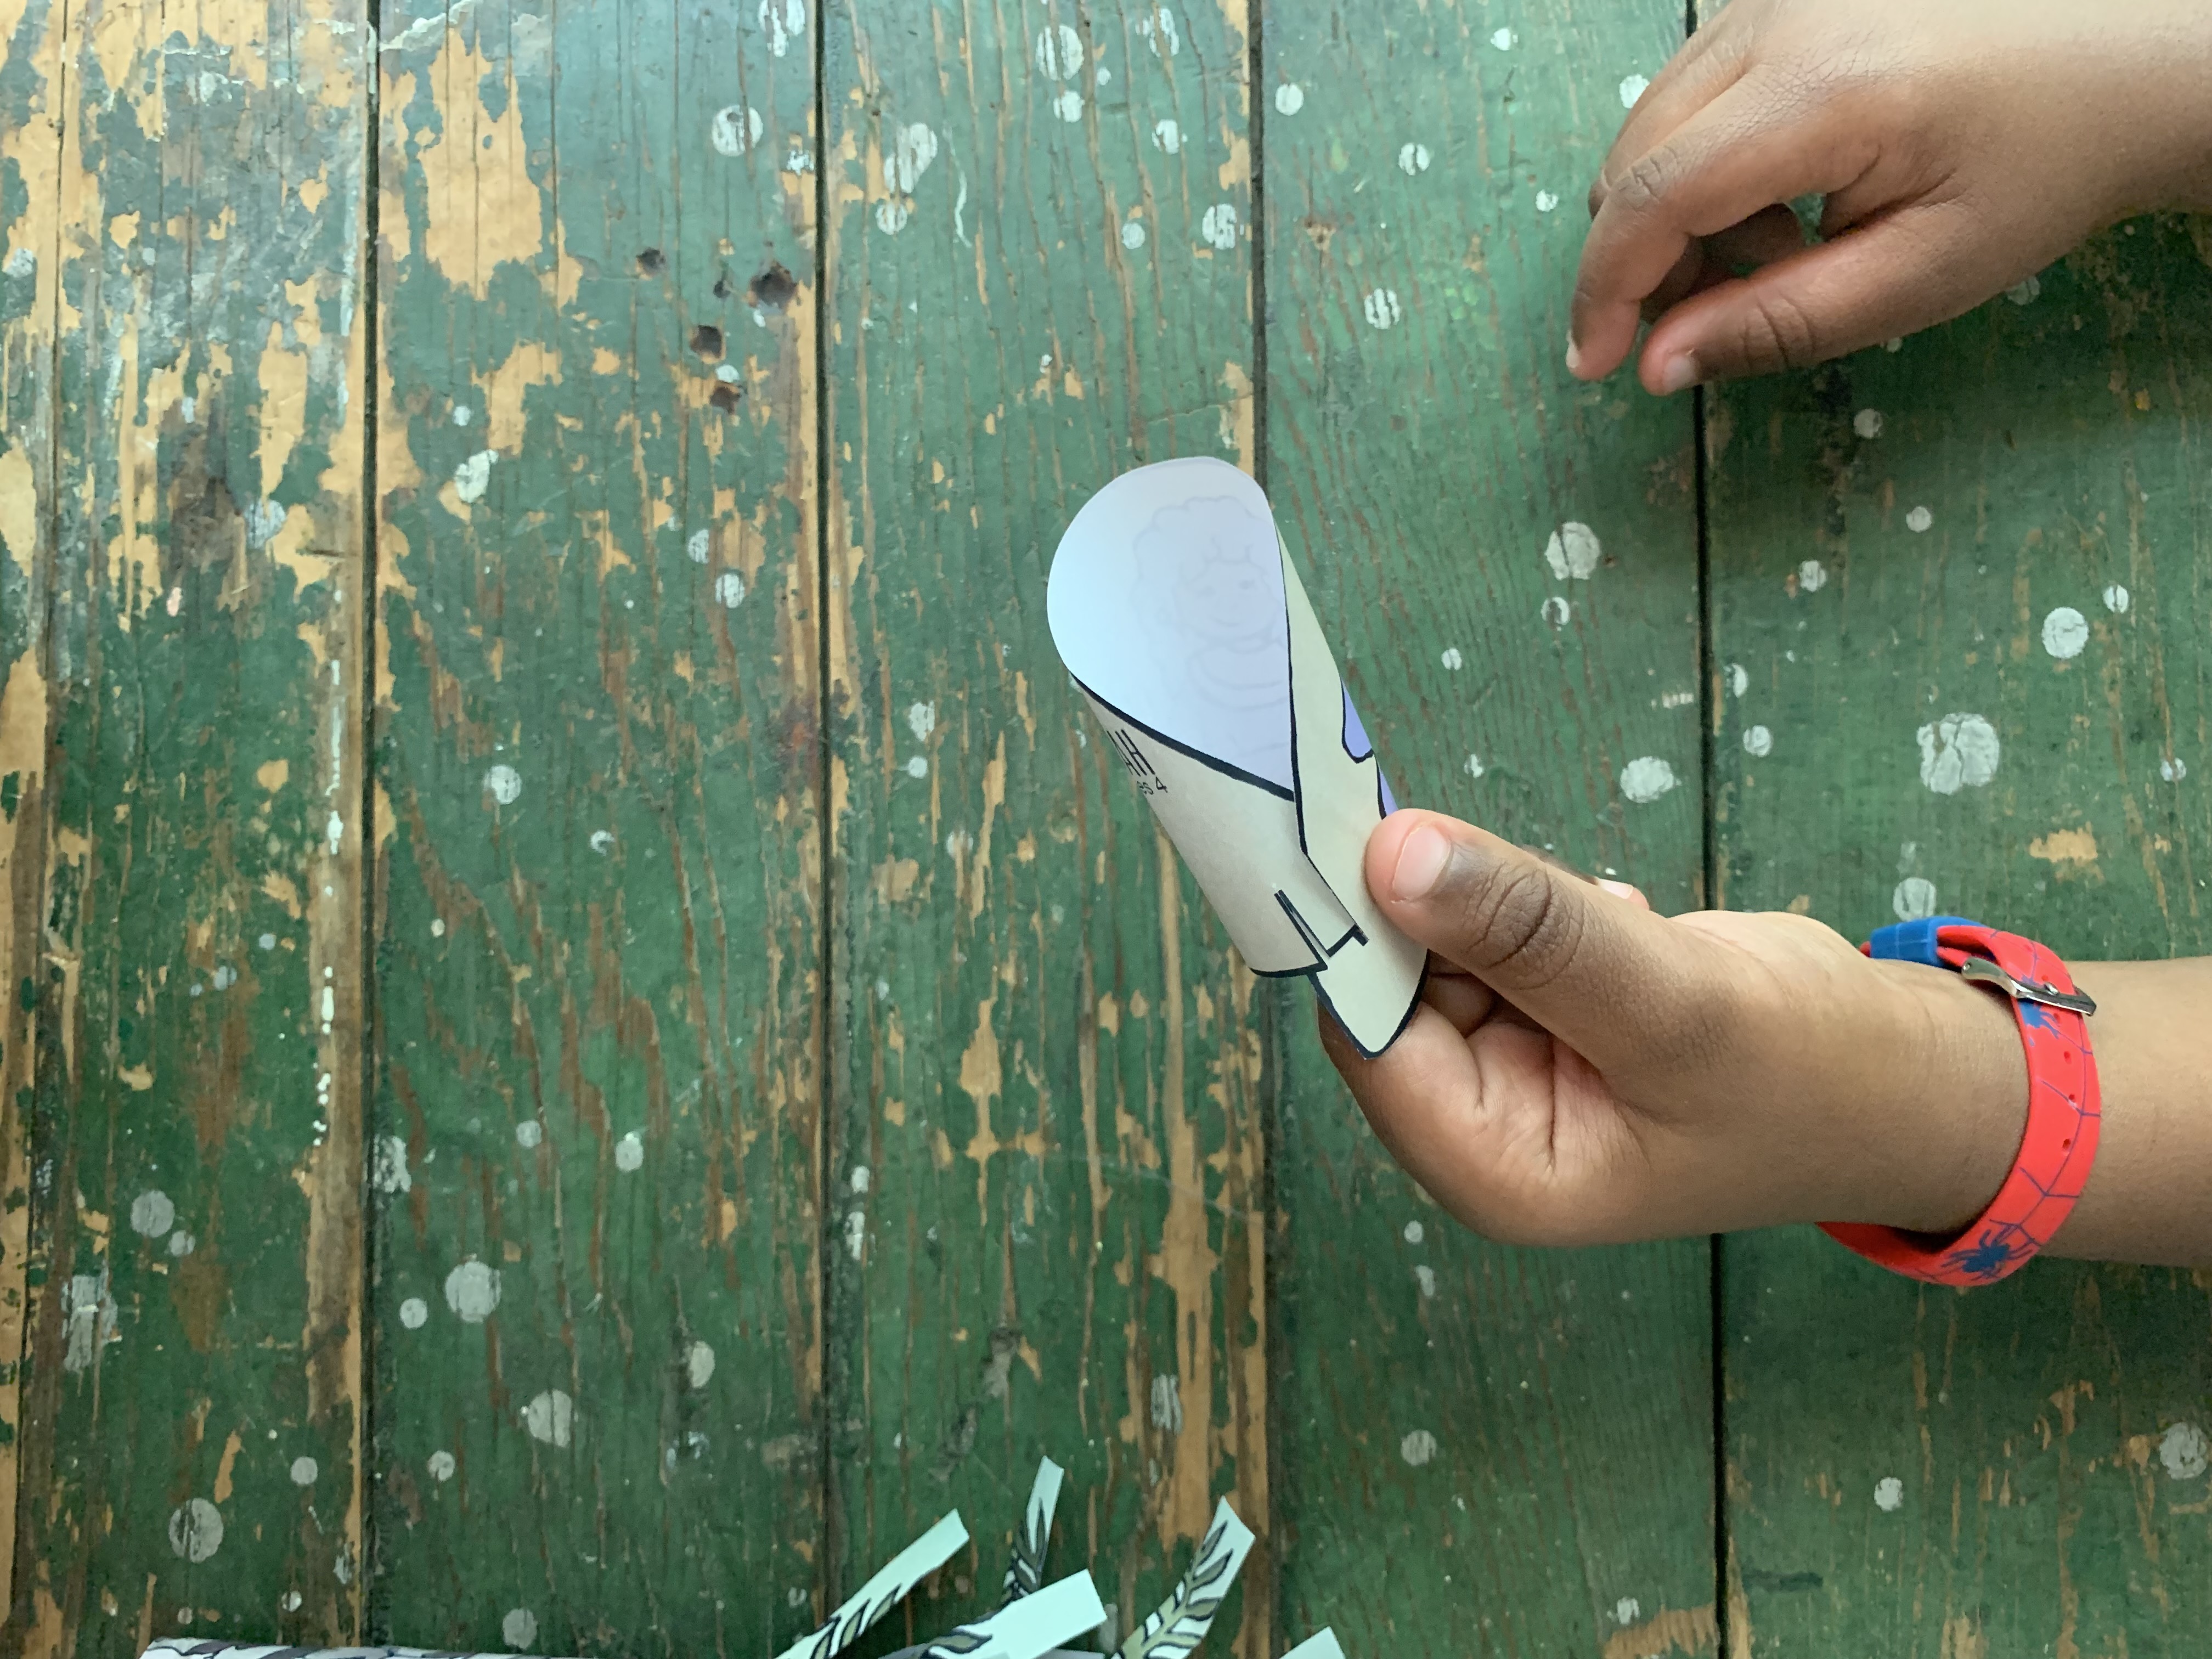
To assemble Deborah, twist the shape around until the cut slits can be slid into each other.
Step 4: Play

With a little effort, the tree should stand upright (see assemble modifications below) and Deborah can sit nicely beneath the tree.
That’s it! Enjoy!
Material and Age Modifications
Modify for different Ages and Abilites

(0-3) Cannot cut, color, & paste
This is an easy craft to modify for this age group. I would suggest printing in color, cutting out the craft and having the tree rolled and cut ahead of time. Toddlers especially enjoy pulling the palm out and watching it “grow.” Because the paper is rolled up, it makes for a pretty sturdy craft as well.

(4-6) Learning to cut, color, & paste
This is a perfect project for this age group! Depending on the age and ability of your kids, consider printing in black and white and allowing the kids to color their project. When coloring the tree, remind the kids that the end result will not show their coloring mistakes. In fact, imperfections on the tree make it look more realistic!

(7-9) Cut, color, & paste well
I would suggest printing the craft in black and white and having the kids color the book themselves. This allows them to have ownership over their craft. Consider also reading some of the connection passages listed above and discussing them.

(10-12) Cut, Color, & Paste Precisely
This craft may be a bit basic for this age. However – if you have a class with huge age gaps – I have found most older kids enjoying making little crafts. Again, print in black and white, have the kids color and read the passages from the bible. Older kids can also help the younger “grow” their tree.
Modify with different crafting materials
Third Culture Crafts is all about making the process easy! If you don’t have something on-hand, here are a few simple modifications that can be made to the supply list.

1. Print
The palm itself can easily be made with any type of paper (tissue paper, newspaper, construction paper, etc.). The thinner the paper, the better it will work. If you find yourself without a printer, consider making just the palm.

3. Assemble
Clear tape looks best but you can use just about any kind of tape for this project. While glue stick may work also, you will need to wait until the glue is completely dry before cutting and pulling on your palm tree.
The palm should be able to stand with a little effort. Try folding the bottom edges into the middle of the cylinder to level the bottom of the palm – tap it against the table to further level it (kids love this). Using your finger, you can also try to widen the opening on the bottom of the tree.

4. Play
For younger kids, you could have the students hold it over their heads to mimic Deborah sitting under it. My kids and I like to say Baracks name like a the clucking of a chicken (Baraaaack! Brock! Brock!) to help them remember that he was scared to go up against the Canaanites.

